How to Grow Stevia to Use as a Natural Sweetener & Sugar Substitute
Learn how to grow stevia from seeds, plants and cuttings to use as a natural sweetener or sugar alternative. Stevia is an herb that has a naturally sweet taste. As it doesn’t affect blood sugar, it makes a wonderful, all natural sugar substitute that is safe for diabetics as well as for use in keto recipes.

Growing Stevia as a Natural Sugar Substitute
Stevia is a wonderful, natural sugar substitute. Not only does stevia not affect blood sugar, it’s also not chemically produced. In fact, stevia is an herb you can grow in your own garden and then reap the rewards every fall.
Discover how to grow stevia from seeds and plants, as well as how to propagate stevia from cuttings. You will also learn how to harvest stevia and ways to use it as a natural sweetener in sugar free recipes.

How to Grow Stevia from Plants
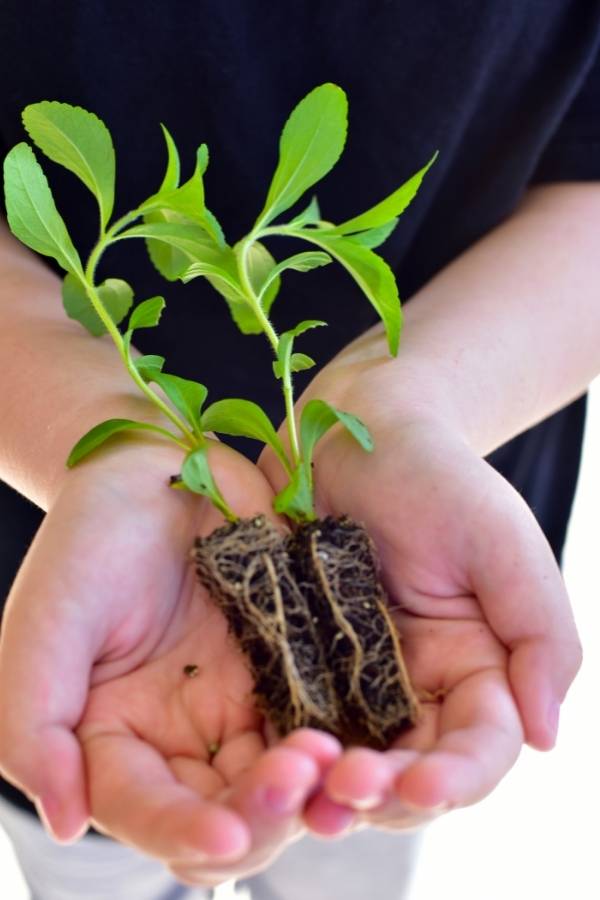
It’s recommended that you buy the initial stevia plants that you intend to grow since starting from seed can be tricky and stevioside levels, what makes the plant sweet, can vary widely in plants started and grown from seed. Buying your plants from a local nursery or farmers market ensures you’re buying higher quality stevia.
When to Plant Stevia
Because stevia is sensitive to colder temperatures, you should wait to plant your stevia after all danger of frost has past and the soil temperatures are consistently in the 50s – 60s or higher. You should harden off your plants first by leaving them outside on a porch for several days, after the danger of frost has passed, prior to planting in the ground.
When planting, make sure to plant stevia in full sun. These plants need at least 6 hours of sunlight each day.

How to Transplant Stevia
When transplanting your plants to a garden area, be sure to plant them in rows 20 to 24 inches apart and space each plant about 18 inches from one another. Stevia grows tall and wide. Typical plants are about 30 inches tall and up to 24 inches wide so you need to allow for this growth.
Growing Stevia in Pots
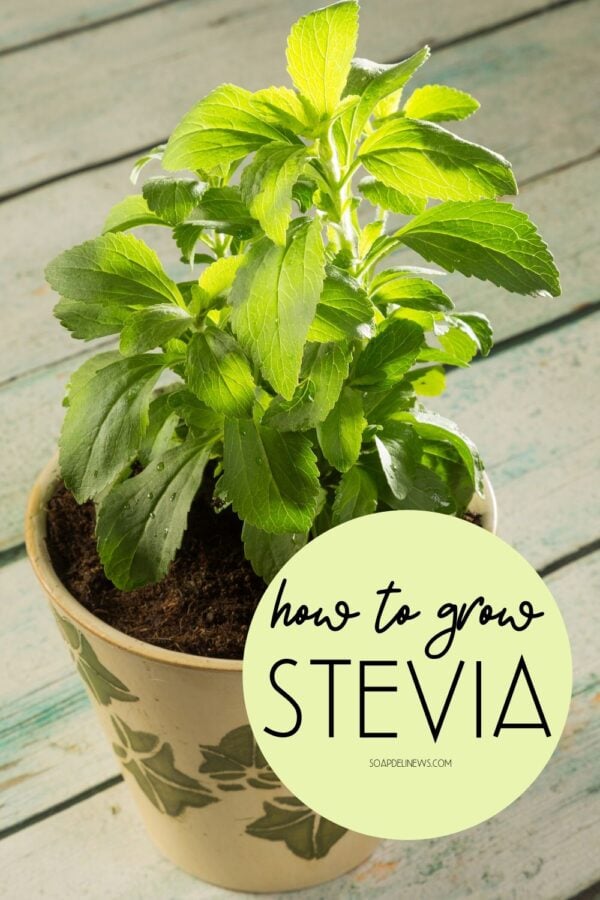
Stevia plants will also do well in pots. If you don’t have a garden or live an apartment, you can grow stevia in pots that are 10″ – 12″ in circumference. Place the pots outdoors on a sunny balcony or patio, where they will get at least 6 hours of full sun everyday.
You can also learn how to paint terracotta pots if you’d like to add a decorative touch to your patio or balcony container gardens.

How to Grow Stevia from Seed
If you don’t have access to a greenhouse that sells stevia plants, you can learn how to grow stevia from seed. I recommend buying stevia seeds from Mountain Rose Herbs to plant, for best results.
Starting Stevia Seeds Indoors
It’s best to start your seeds indoors, then transplant them into your prepared garden space. Seeds should be started indoors 6 weeks prior to the last frost date for your plant zone. Stevia seeds need consistent moisture and direct light to grow. You can expect seedlings within 10-15 days after planting. The plants can then be thinned and transplanted into pots or a garden once they are several inches tall and are producing healthy leaves.

Here is how to start stevia seeds to grow stevia in your garden:
- Choose a sunny spot to plant your stevia seeds. They will need full sun and at least 6 hours of direct sunlight per day.
- Prepare the soil by mixing in organic matter or quality organic potting soil. You want to avoid chemical fertilizers as they can lessen sweetness from the herb.
- Sow the seed in the prepared garden soil. You’ll want to plant the seeds about a half inch deep and three inches apart from one another.
- Water the seeds as soon as they are planted. This will help to settle the soil. You’ll then want to keep the seeds watered so they stay moist as they germinate.
- Once the seedlings are about two-inches tall, they should be thinned out. Transplant the stevia seedlings so they are about 6-inches apart in your garden to give them room to grow. Alternately, you can also transplant 2 to 3 seedlings to a large pot.
- After all danger of frost has passed, transplant your seeds outdoors in your garden. (Your frost date is determined by your planting zone.) Stevia plants should be space out 18-inches apart and in rows 20 to 24 inches apart.

Tips on How to Grow Stevia
Here are some tips on how to grow stevia:
- Stevia grows best when started from seed indoors and is then transplanted after the danger of frost has passed. For consistency in flavor and sweetness, use seeds only from a trusted organic supplier. Or buy your stevia plants from a greenhouse or nursery.
- Use the same soil you would for your regular garden plants adding compost to lock in moisture and add extra nutrients. Low nitrogen fertilizer is best or even an organic fertilizer would be fine. Stevia prefers rich soil filled with organic matter.
- You want to avoid using chemical fertilizers on your stevia plants. Unlike organic fertilizer, chemical fertilizers can affect the sweetness of the leaves.
- Water your plants frequently during the summer months, but take care not to over water. Stevia prefers moist, well drained soil.
- When transplanting stevia into the ground, be sure to harden off the plants before planting. Then water immediately once you stevia plants are in the ground.

How to Grow Stevia from Cuttings
In addition to growing stevia from seeds or greenhouse plants, you can also grow stevia from cuttings in water. Here is how to grow stevia from cuttings:
- Choose new stems from the herb without any flowers. (Stevia bears small white flowers in the fall.)
- Cut the stems so they are about 6-inches long using sharp garden shears.
- Remove the leaves from the bottom 4-inches of the herb. If you purchased stevia from the grocery store, you’ll also want to cut off the bottom of the stem.
- Fill a large jar with either tap or bottled water. You’ll want to avoid using distilled water as it lacks the necessary minerals plants need to grow.
- Place the stevia cuttings in the water with the ends of the stems angled so they can absorb more water. You don’t want them to rest on the bottom of the jar.
- Set the cuttings to grow in a sunny windowsill or other area where they will receive at least 6 hours of sunlight each day.
- To encourage further growth, clip off new leaves as soon as they are fully grown. This allows you to harvest the plant throughout winter, while it grows.
Once the stevia plants have strong roots, you can transplant them in the garden or outside in a container after they’ve been hardened off and the danger of frost has passed.
You can find more information on how to regrow herbs from cuttings here.

When to Harvest Stevia
You can harvest stevia leaves at any time. However, they are best when harvested in the fall.
I recommend that you harvest your stevia leaves in the early fall. The cooler fall temperatures help to intensify the sweetness of your crop. It’s recommended that you cut your branches from your plants before stripping the leaves. Ideally, you want to harvest the leaves from this herb before any of the flower buds have opened.
You can also harvest and use the tips of the stems as they often contain the same amount of stevioside as the leaves from your harvest. If you’re in a climate where stevia will survive a cool winter, prune the plants so the stems are about 4 inches high.
Generally you can get a second harvest from these plants, but a solid third harvest is not as likely, nor will it be as productive. Otherwise be sure to keep cuttings from your harvest to root indoors, pot and keep for planting next spring.

How to Dry Stevia
Once you’ve harvested your stevia leaves you will want to dry them on a screen or net. Good air circulation is a must but this process doesn’t require a lot of heat. You can likely dry your leaves outside on a warm day in full sun in about a 12 hour period.

How to Use Stevia as a Sugar Substitute
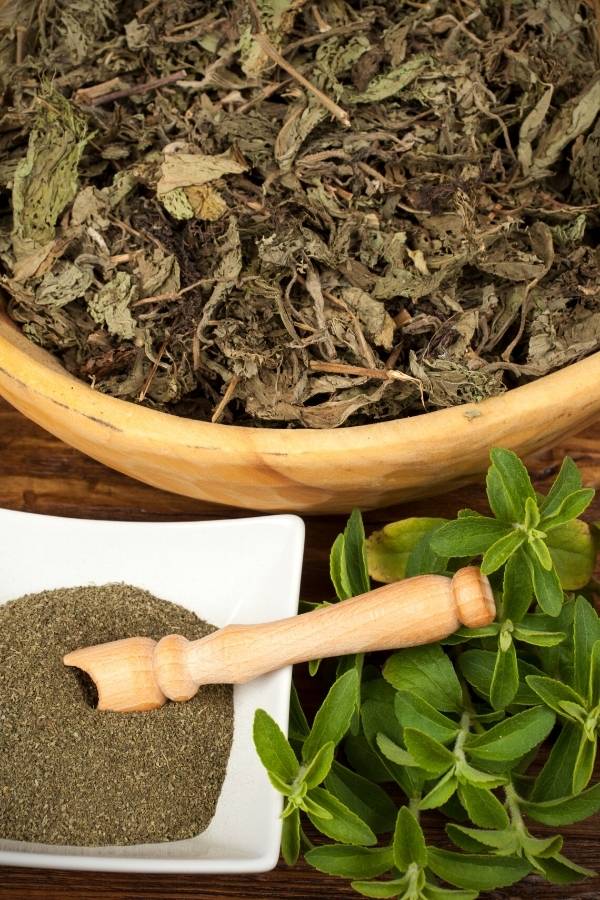
Once your leaves have dried, simply crush them by hand or in a coffee grinder to release the sweetness for future use. Stevia works great in hot infusions such as tea and coffee. Just be sure to place the dried herb in a tea bag or tea ball first to infuse.
A liquid extract can be also produced using fresh stevia. To make a liquid extract, mix a cup of warm water with 1/4 of fresh, finely crushed stevia leaves. Steep the leaves for 24 hours, then strain the leaves from the water and refrigerate. The extract can then be added to tea when making iced tea or other sweetened drinks.

Don’t have the space to plant or grow stevia? You can also buy dried organic stevia leaves steep in your own tea blends. The whole organic stevia leaf is also available in powdered form. (Note that most commercial Stevia which is a white crystalline color is actually the dried powdered extract of Stevia and not the whole leaf.)


5 Comments
Anonymous
March 23, 2012 at 1:01 am
Thank you for the tips. Just purchased my first stevia plant and am excited to plant and experience it.
Anonymous
May 10, 2012 at 3:36 am
I just got my plant, good info!
Anonymous
June 17, 2012 at 2:37 pm
Found some in Home Depot.
Anonymous
June 25, 2012 at 3:06 pm
Got two from the garden center in large pots on the deck. Named them Wonder and Nicks. One of them bolted immediately after re-potting. I guess I’ll save the seeds and start them in pots in February. The other is quite robust. I also received some seed a couple of months ago and have it sprouting in starter pots. They will go outside in a week or so. The seed is microscopic.
Anonymous
August 5, 2012 at 6:43 pm
I grew my first stevia plant last year. Dried and crushed the leaves and froze them. They are still in the freezer. I’m using store bought stevia. Isn’t that crazy? I don’t know how to use it. How much to use, etc. The store bought stuff has “filler” in it, so, I guess a small amount goes a long way. Just haven’t been brave enough, yet. It will be time to harvest my current plant soon.
Comments are closed.