DIY Mango Shimmer Tinted Lip Balm Recipe
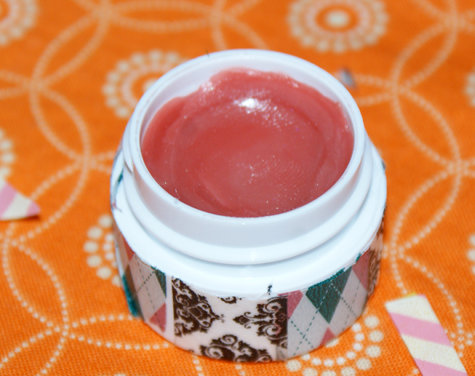
In love with lip balm? Then make your own! Lip balms are ridiculously easy to make and are perfect as Christmas stocking stuffers, small gifts, or party and wedding favors! My recipe for DIY Mango Shimmer Tinted Lip Butter is a snap to make and decorating the lip balm pots makes this project entirely customizable and even more fun! My friend Meagan came over on Saturday to help me with this diy beauty project.
DIY Mango Tinted Shimmer Lip Balm Recipe
Ingredients:
1/4 oz. (by weight) organic cocoa butter
1/4 oz. (by weight) mango butter
1/4 oz. (by weight) refined or organic raw shea butter
2 level Tablespoons beeswax pellets (or 1 Tablespoon carnauba wax for a vegan alternative)
2 Tablespoons carrier oil, of choice
5mL mango flavor oil– measured out with a graduated plastic pipette
pinch of lip safe Diamond Dust mica powder (to suit)
pinch of oil soluble red iron oxide(to suit)
plastic lip balm pots or lip balm tubes
Instructions:
If you’re making these for yourself, have at it! However, if you are making these to sell, please take proper cosmetic safe measures and use sterilized equipment, gloves and a hair net. Start by measuring out your beeswax with an accurate tablespoon measure and place in a glass bowl or measuring cup. Then weigh out each of your butters and combine into the container with your beeswax. Melt on reduced power in your microwave until fully melted and stir. Now add your carrier oil and mango flavor oil (or lip safe mango fragrance oil) to the melted lip balm mixture and stir well. Follow by adding a pinch of red iron oxide and mica powder for shimmer and stir until thoroughly incorporated.
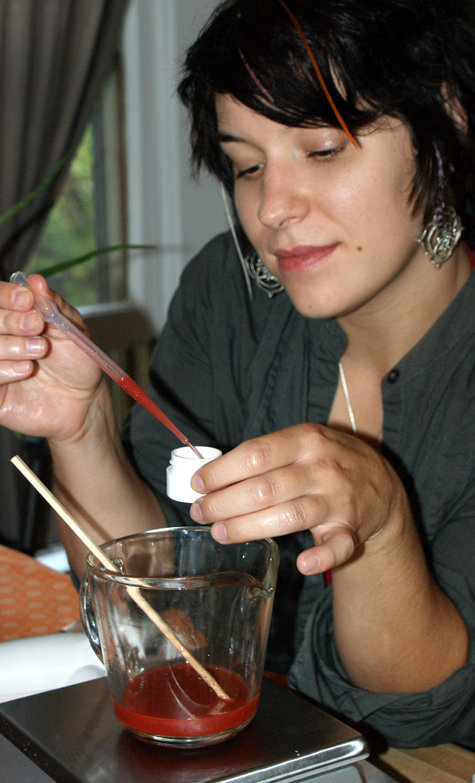
Using a pipette, fill your lip balm pots with your melted lip balm. If the mixture solidifies before you’re done, you can always reheat the lip balm in the microwave. If you’re using tubes, you can stand them up in a small dish filled with Epsom salts to keep them from tipping over.
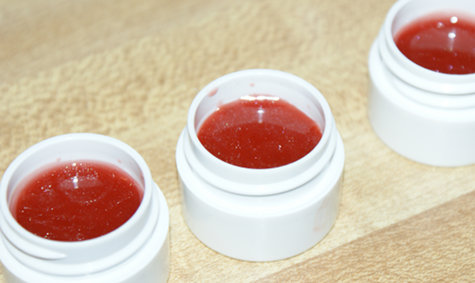
Once your pots are filled, cap tightly and allow to cool. You can expedite this process by placing your filled and capped lip balm pots in the refrigerator until solid. It won’t take long!
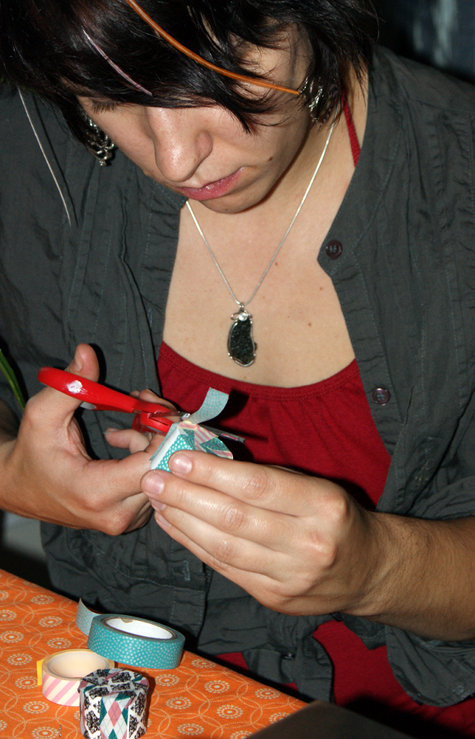
Once the lip balms solidified, Meagan and I decorated the lip balm pots with Japanese Washi Tape.

There are no rules for decorating your lip balm pots with washi tape. Keep it simple or go wild!
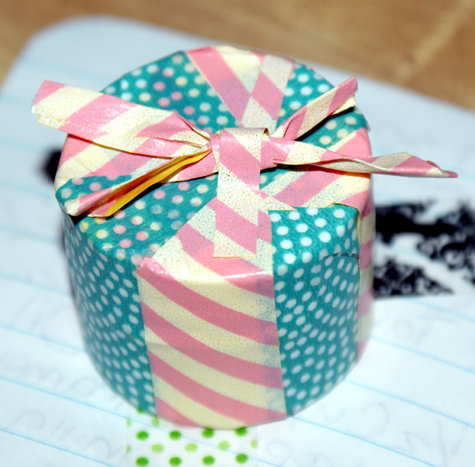
Megan covered her lip balm pots in their entirety with washi tape and got super creative. To use, she simply used an Exacto knifeto cut around the lip balm pot where the lid meets the base. This allowed her to keep her lip balms extra pretty, but still allowed them to be opened.
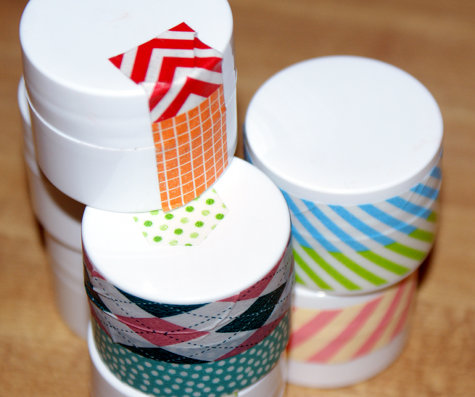
You can also simply use the washi tape to create a decorative seal for your lip balms and simply add a strip of tape around the lid and base or across the pot from top to bottom.

Now that your lip balms are complete, all that’s left is to try them out for yourself! Add some for a light tint and shimmer and some extra luscious moisture! Or keep them sealed and gift for birthdays, Easter, Mother’s Day, or Christmas. These are perfect for stocking stuffer gifts! They also make great party and wedding favors since you can easily make multiple quantities at once!
For more lip balm recipes, click here. Alternately, for more washi tape craft project ideas, go here! Happy crafting!



4 Comments
ChatterBlossom
October 1, 2012 at 4:46 pm
This looks so good! Mango anything has my vote!
-Jamie
http://chatterblossom.blogspot.com/
Ericka Decker
December 10, 2012 at 6:14 am
I love this idea its perfect for a small Christmas gift for all my cousins.
I just have some questions.
about how many containers were you able to make and how big were they?
KitKat
December 14, 2013 at 1:52 pm
WOW That really looks like much fun 😉 I’d like to make them as a gift to friends for chritmas. But where did you get the pots?
Rebecca D. Dillon
December 14, 2013 at 3:19 pm
I link to where I sourced my pots within the tutorial.
Comments are closed.