
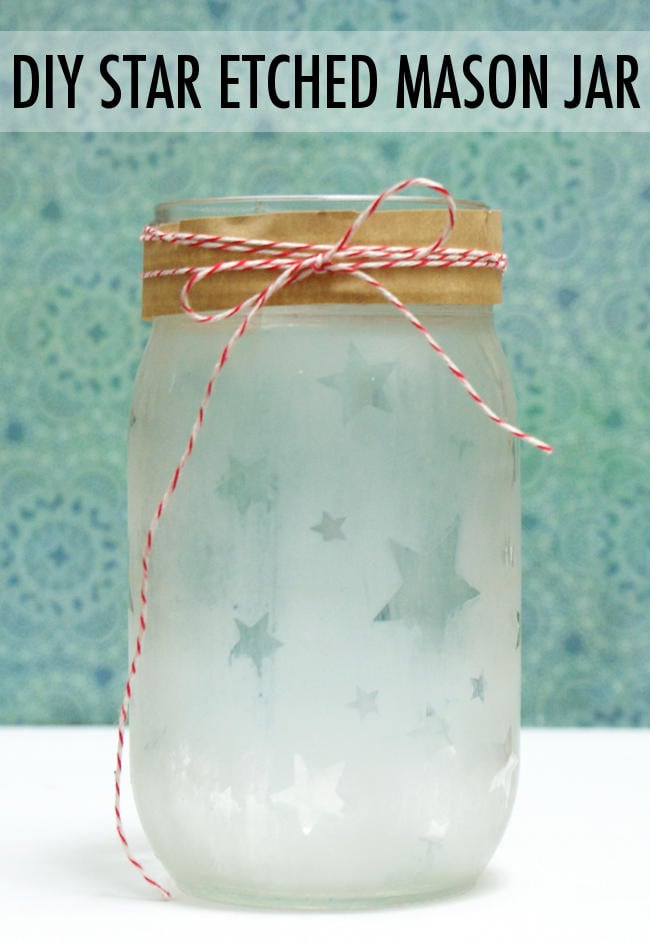
DIY Etched Mason Jars for Creative Storage or Gifting
This DIY Etched Mason Jars Craft Project is an easy way to dress up your empty mason jars as well as any other glass jars you might have on hand. They’re perfect for storing and organizing items in your own home or you can fill them with delightful treats or handmade goodies for gifting!
Initially my handy dandy sometimes super assistant, Hunter, helped me with these using a DIY Etched Glass Champagne Flutes Kit. Included in this kit were two champagne flutes plus one extra for practice, Martha Stewart Glass Etch Cream with Brush, and star stickers
![]() . We learned a few things with this kit. 1.) Practice first. 2.) Use a larger brush than what comes with the kit to get better, more even coverage. 3.) This works better, or rather is easier, with larger surfaces. 4.) Use stickers that adhere well enough that they don’t slip when brushing on the etching cream. Puffy stickers should be avoided alltogether as they are the worst culprit. 5.) Etching cream smells terrible. (As witnessed in this behind the scenes instagram photograph.)
. We learned a few things with this kit. 1.) Practice first. 2.) Use a larger brush than what comes with the kit to get better, more even coverage. 3.) This works better, or rather is easier, with larger surfaces. 4.) Use stickers that adhere well enough that they don’t slip when brushing on the etching cream. Puffy stickers should be avoided alltogether as they are the worst culprit. 5.) Etching cream smells terrible. (As witnessed in this behind the scenes instagram photograph.)
The champagne flutes did not come out anywhere near what we were hoping for and we definitely would have benefited from practicing first. However, there was more than enough etching cream left to make a few mason jars so that’s what Hunter did. If you try this yourself and the first time’s a bust you can salvage your glass or jar by simply going back over the glass with more etching cream to frost the entire glass or jar.
DIY Etched Mason Jars

To create your own DIY etched mason jars, start by applying your stickers to a clean glass surface. Use stars or letters or any other shape that suits your fancy.

Apply a thick coat of etching cream over entire surface you want to appear frosted. Allow to set for at least fifteen minutes or twenty for good measure.

Now rinse off the etching cream from the glass by running it under warm water. Once all of the etching cream comes off, remove the stickers and wash the glass.

Your starry DIY Etched Mason Jars are now ready for whatever you choose their mission to be.
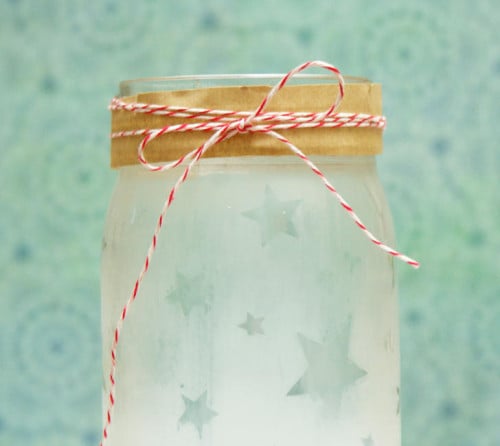
You can leave your mason jars plain or dress them up with a bit of Kraft paper and baker’s twine.
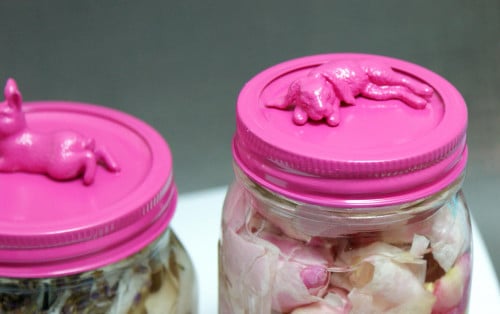
Or decorate the lids of your mason jars with plastic toy animals![]() , E6000 Glue
, E6000 Glue![]() and Krylon Short Cuts Spray Paint
and Krylon Short Cuts Spray Paint![]() as I did for these mason jars I used to make homemade rosewater in.
as I did for these mason jars I used to make homemade rosewater in.
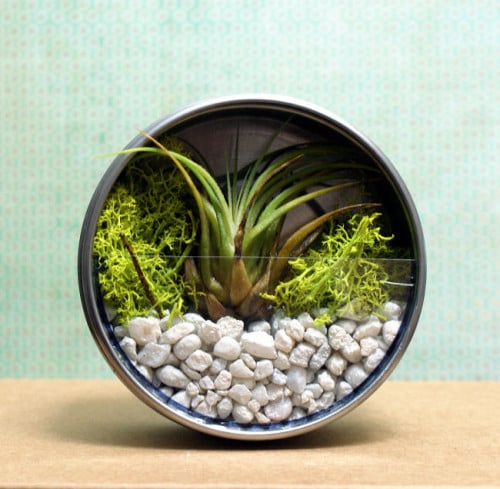
If you like this craft project be sure to check out my other Darby Smart craft project for making easy DIY Terrarium Magnets. You can also find more inspirational ideas and DIY craft projects by following my DIY Craft Projects board on Pinterest.


1 Comments
Jen
July 15, 2014 at 12:12 pm
Love this! So cute and they would make a great gift! I love that you could replace the stars with anything to customize it – like candy canes for Christmas! thanks for sharing!
Comments are closed.