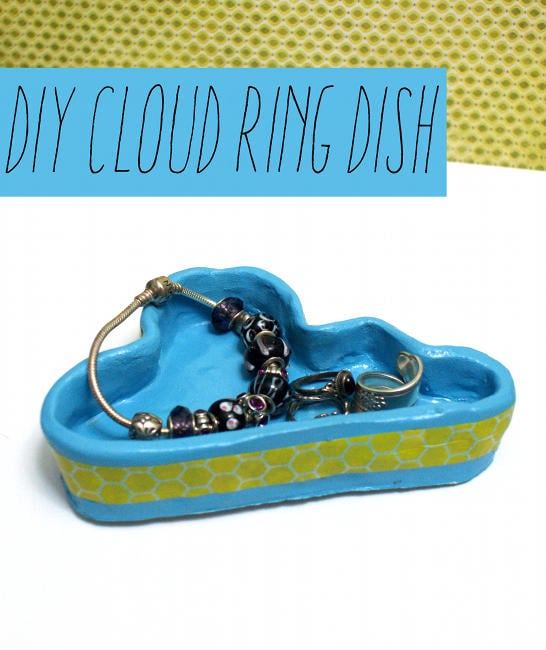
DIY Cloud Clay Jewelry Dish Craft Project
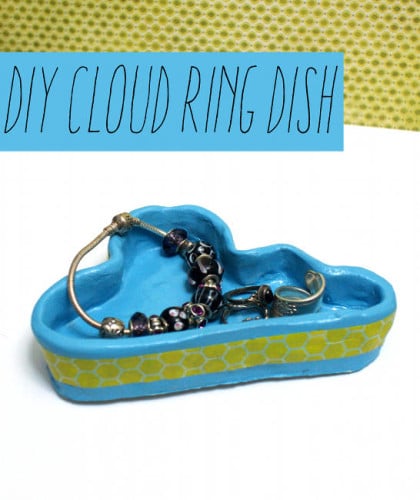
I was inspired by several potty cloud dishes on Etsy and decided I’d buy some air dry clay and make my own. I gave my cloud shaped jewelry dish low “walls” which proved to be slightly more difficult than I thought it would be. This was my first attempt but I’m thinking I’ll try my hand at a few more before it’s all said and done since I still have plenty of leftover clay.

To make your own DIY Cloud Clay Jewelry Dish you will need the following:
Activa Plus Natural Self Hardening Clay, 2.2-Pound, White
8-Piece Pottery Tool
Krylon KSCS039 Short Cuts Aerosol Spray Paint in Bonnet Blue
Washi Tape, optional
Bowl with water
Rolling pin
Flat surface
Let’s get started!

To make your dish take a chunk of the clay and roll it into a ball. Then, using a rolling pin, roll out the clay on flat, porous surface until flat. It should be about 1/4″ thick. Using the needle point clay tool, cut out a cloud shape in desired size. This will serve as the bottom base of your cloud shaped clay dish.

Now you’ll need to create the sides for your dish. Take another chunk of clay and roll it out into a long snake like shape. Make sure it is long enough to go all the way around the border of the clay cloud you just made. Using the rolling pin, roll out the cylinder of clay until flat and the same thickness as your cloud. Use the needle point clay tool to cut the flattened strip to desired height and so it is even on both the top and bottom.

Place the clay strip around the edges of the cloud all the way around. Smooth the wall of the cloud onto the cloud base with your fingers on the inside and outside. Smooth using the wet sponge or your fingers dipped in the bowl of water. Use the damp sponge or damp fingers to smooth out the rest of the dish.
If you are in a particularly dry area you may want to loosely place a plastic bag around your dish for a day or two so it dries slower and therefore more evenly. This will help to prevent it from cracking as well as allow for minor touch ups throughout the drying process.
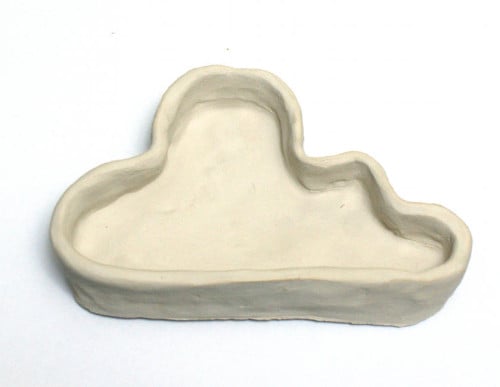
Once your clay dish has dried completely, sand lightly with fine grain sandpaper if desired to further smooth out the dish.
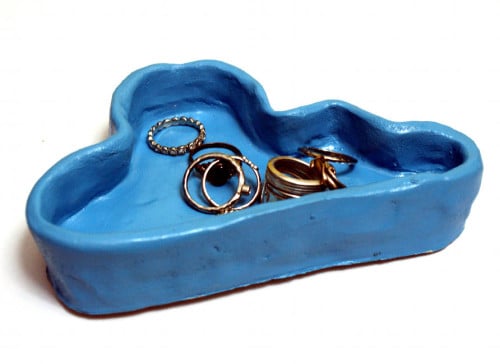
Next, evenly spray your cloud jewelry dish with the spray paint. Allow the first coat to dry completely, then apply a second coat. Once your second coat has dried, your dish is ready to rock and roll! Use immediately or give your dish a bit more oomph by running a colored strip of washi tape all around the edge of the dish.
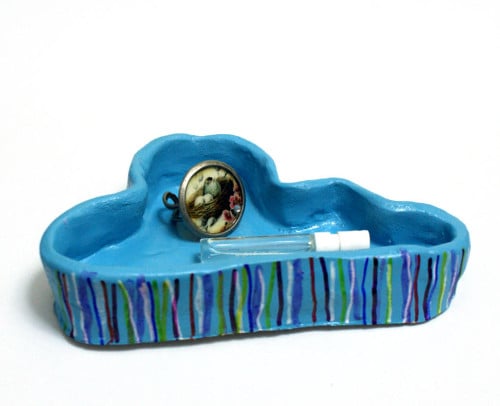
You can also dress up the walls of your cloud dish using permanent markers, paint pens or even removable Bistro Chalk Markers which allow you to remove and change your designs again and again. You can also use this dish as a wall hanging by using Gorilla Glue to attach picture hanging hardware to the back.
Looking for more inspiration for your clay cloud project? Here are a few of my favorite cloud shaped clay pottery pieces from Etsy.
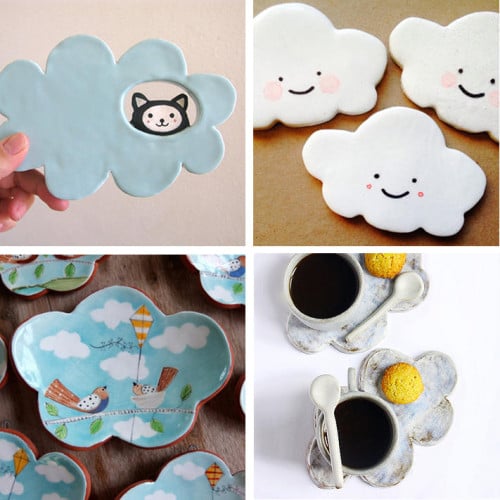
Clockwise from top left: Cat in the Clouds Ceramic Wall Hanging by Pearson Maron; Cute Cloud Magnets by Sal + Sol; Little Cloud of Happiness by Joy Elizabeth Ceramics; Clouds Cup and Saucer Set by Jenni Oh Crafts
For more fun DIY craft project ideas follow my Jonesing for Crafts board on Pinterest. You can also find me on find me on Facebook, Twitter, and Instagram. Or follow Soap Deli News via Blog Lovin’ and never miss a post!


2 Comments
Lana
June 22, 2014 at 4:35 pm
Lovely DIY project! Thank you for sharing!
Also, your inspiration pieces from Etsy are beautiful!
xx, Lana
Smith
July 10, 2014 at 3:02 am
This is a beautiful DIY craft project. I also tried the same but couldn’t get the prefect finishing touch. This is a great inspiration for me to improve my skills in craft.
Comments are closed.