
Mermaid Bath Bomb Recipe for a Self Care Bath Time Treat
Learn how to make DIY mermaid bath bombs for a fun and colorful addition to your bath time ritual! This mermaid bath bomb recipe yields two large bath bombs with moisturizing cocoa butter shells.

When placed in water, your DIY mermaid bath bomb will spin, fizz and sparkle releasing a beautiful blue color, eco-friendly rainbow glitter and skin loving ingredients including kelp powder, oat butter and coconut oil. The cocoa butter shell will also gradually melt in warm bath water as it releases from your mermaid lagoon bath bomb enveloping you with it’s skin nourishing properties.

Ready to create your own fun DIY mermaid bath bombs but have had trouble making your own homemade bath bombs in the past? Not to worry. I created my mermaid bath bomb recipe with ingredients to help your bath bombs stay together even in humid conditions! Keep reading to learn how to make your own mermaid bath bombs as a bath time self care treat! (Or check out this post on how to make bath bombs for tips and tricks for making the perfect bath bombs if you need some extra guidance.)
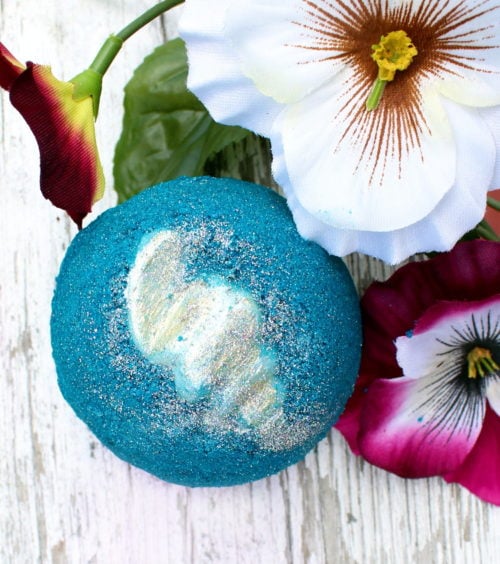
Mermaid Bath Bomb Recipe
Ingredients:
9 oz. baking soda
5 oz. citric acid
.5 oz. SLSA
.5 oz. kelp powder
.5 oz. kaolin (white cosmetic) clay
.5 oz. refined coconut oil
.5 oz. oat butter
.5 oz. cocoa butter or kokum butter
.05 oz. (about 1 Tbs) blue 1 lake dye powder
.6 oz. (about 2 Tbs) fine silver (or rainbow) biodegradable cosmetic glitter
.2 oz. polysorbate 80
.25 oz. cyclamen & citron fragrance oil (or scent of choice)
additional cocoa butter or kokum butter (for seashell embeds)
Instructions:
You’ll begin by creating your seashell embeds. I used a Wilton seashore silicone mold. However, if you aren’t able to find one, you can use another seashell silicone mold of your choice. Begin by melting a small amount of cocoa butter by placing it in the microwave and heating at 40% power until melted. (Alternately, you can also use a double boiler.)
If you are using the Wilton mold, you will need .75 oz. (by weight) to fill each of the two shell cavities in your mold. Otherwise, melt enough cocoa butter to fill two of the shell cavities in your alternate mold. Then pour the melted cocoa butter into the mold cavities. (If you’ve melted too much cocoa butter, simply fill additional mold cavities as needed and you can use the cocoa butter for other projects later on.)
Once the cocoa butter solidifies in the mold, remove the seashells from the mold and set aside.
You’ll next mix the ingredients together that will form your mermaid lagoon bath bombs.
Using a digital scale, weigh out all of the dry ingredients into a large glass bowl or large Pyrex measuring cup. This includes the baking soda, citric acid, SLSA, kelp powder, kaolin clay, lake blue dye and the glitter. (For safety please wear a face mask when working with the SLSA as it’s an airborne ingredient that is easily inhaled into your mouth and nose.)
Combine the dry ingredients using a fork until all of the ingredients are evenly distributed. Set aside.
Now weigh out .5 oz. of cocoa butter into a separate, large glass bowl or similar. Heat in the microwave at 40% power until melted.
Remove from heat and weigh out the coconut oil and oat butter. (You can substitute the oat butter with another hydrogenated butter if desired.) Stir these ingredients into the melted cocoa butter until they have melted.
Follow with the polysorbate 80 (which helps to prevent bathtub rings from the color used) and the fragrance oil, weighing them first so you are adding the correct amount. Mix into the melted butters and coconut oil.
Now pour the dry ingredients into the wet ingredients, mixing with a fork as you go. Once the wet and dry ingredients are thoroughly incorporated you are ready to form your first mermaid lagoon bath bomb.
To do this, place one of your cocoa butter seashells into one side of a 2.75″ bath bomb mold. Follow with the bath bomb mixture you just made, loosely piling the ingredients into the mold half so it’s a rounded mound. Don’t press the mixture into this half. If you do, your two sides won’t stick together.
Next fill the matching half to the mold half you just filled with the blue bath bomb mixture in the same way.
Now quickly and precisely as you are able, press the two halves of your bath bomb mold together as firmly as you can. If you aren’t able to get the two halves of the mold to snap together – I usually can’t – you can tape them together to ensure the mold stays in place with a bit of masking tape.
Now repeat this same process with a second mold set.
Set your filled mermaid bath bomb molds aside in a cool, dry location.
After two days, you’re ready to unmold your bath bombs! (Technically you can unmold your bath bomb sooner, but I like to leave mine alone an extra day just to be on the safe side!)
Once you’ve unmolded each mermaid lagoon bath bomb, you are ready to decorate the embedded seashells!
To do this, first lightly brush off any loose or excess bath bomb material from the center of the bombs where the two halves of your mold met as well as around the shells.
Now, mix a small amount of mica powder with 99% isopropyl (rubbing) alcohol until it’s the consistency of paint and flows smoothly off a small craft paintbrush. (I used a pearl shimmer and a gold sparkle mica mixing each one separately and then layered them as desired onto the shells.)
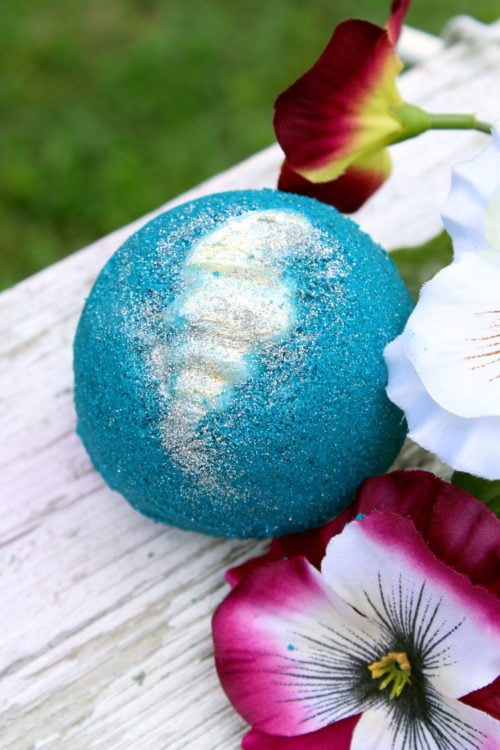
Once you have your desired look and while the mica “paint” is still slightly damp, sprinkle a bit of your fine eco-glitter onto the shells of each mermaid bath bomb.
Your mermaid bath bombs are now complete! All that’s left is to wrap each of your mermaid bath bombs tightly in foodservice film or some other airtight packaging of your choice.
Be sure to use your mermaid lagoon bath bombs within a few months for best results as citric acid begins to lose its potency once exposed to air.
If you plan to sell your mermaid lagoon bath bombs, you’ll need to follow FDA guidelines for labeling your product. If you’re unsure about the rules and regulations regarding labeling cosmetics, I highly recommend the book, Soap and Cosmetic Labeling: How to Follow the Rules and Regs Explained in Plain English, by Marie Gale.
It is important to note that, as this product contains SLSA, it is considered a foaming detergent bath product. As such labeling requires an additional caution to be printed on the label unless it states that the product is for adult use only. This is in addition to the ingredient list and directions for use and other information required for cosmetic labeling.
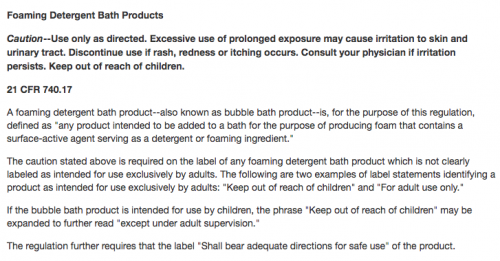
Above is a screenshot of this requirement from the FDA website for cosmetic labeling regulations regarding this product.
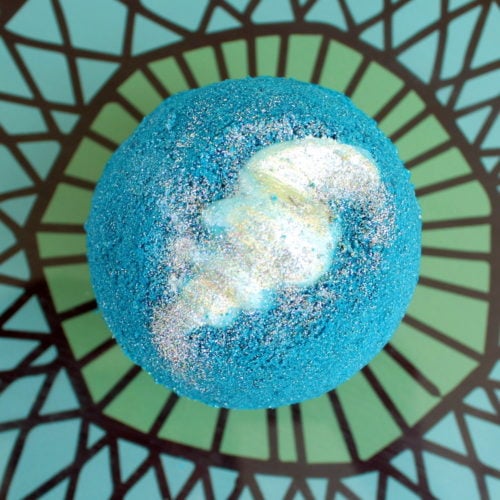
For more homemade bath bomb recipes, visit Soap Deli News blog here. Not quite ready to make your own homemade bath bombs? You can shop from among a huge assortment of homemade bath bombs on Etsy here.
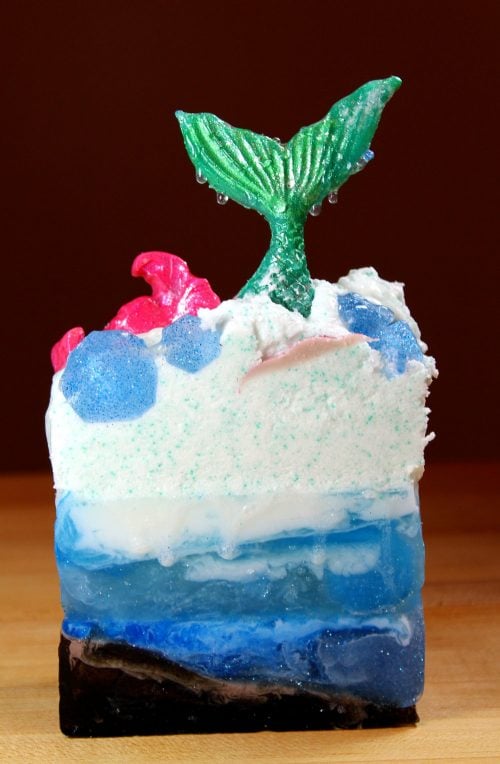
If you like my DIY mermaid bath bomb recipe, then you’ll also want to check out my mermaid soap! You’ll make waves with my fun mermaid soap tutorial that walks you through the process of using melt and pour soap bases and mica colorants to create your very own mermaid soap! Find the tutorial here.
To discover even more of my homemade bath and body recipes as well as others from around the web, be sure to follow my Pinterest boards. You can also find and follow me on Facebook, Twitter, Blog Lovin’, and Instagram. Or sign up to receive new posts from Soap Deli News blog to your email via FeedBurner so you never miss a post.
And, if you make homemade soaps or bath & body products, be sure to add the hashtag #soapdelishowoff to your instagram posts to share your posts with me and my other readers!


4 Comments
Jester Featherman
July 31, 2017 at 6:16 pm
Hello Rebecca,
Thank you so much for linking your article back to my Biodegradable glitter shop on Etsy.
It means so much that wonderful people like you are choosing to go biodegradable and that you are helping the world to become a better place in your own special way.
Your bath bombs look amazing, thank you for blessing the world with them and to the biodegradable glitter movement.
Lots of love to you
Rebecca D. Dillon
July 31, 2017 at 8:40 pm
Thank you and you’re most welcome!
Soap Mage
August 5, 2017 at 4:43 pm
Hey Rebecca! The recipe states .5 oz CB but your instructions say 5 oz. So should it be 5 oz? I want to make these for a party. Thanks!
Rebecca D. Dillon
August 6, 2017 at 9:24 am
Thanks for catching my typo. It’s been corrected. The recipe is correct in that it is .5 oz. (1/2 ounce) of cocoa butter.
Comments are closed.