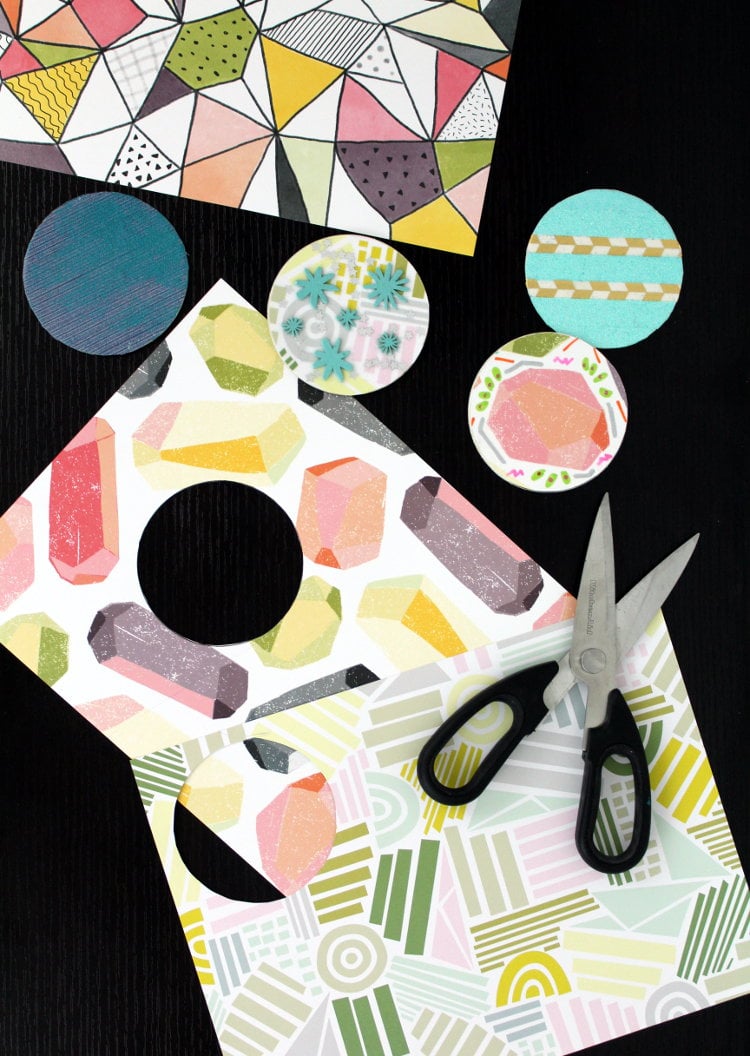
DIY Coasters for a Make and Take Girls Only Craft Night!
This DIY coaster project is a fun way to spend an afternoon crafting! Dive into this easy weekend DIY with the kids, host a DIY craft night with the girls or simply lock yourself in your craft room and tackle these DIY coasters solo. Me being me, well, of course I chose to host another girls only craft night.
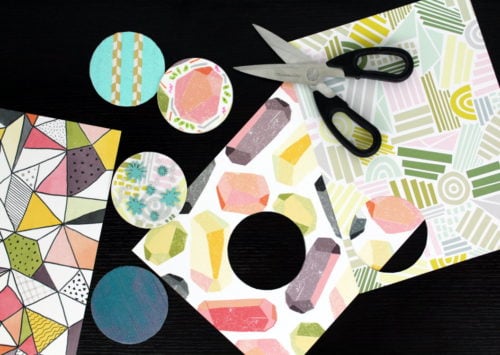
I started by purchasing a huge stack of blank letterpress coasters. Then I gathered my ridiculous craft stash of paints, washi tapes, scrapbooking papers, glitters and Mod Podge for what was probably one of the easiest make and take craft nights I’ve hosted. Combined with the wine and great company, this is the perfect project if life is weighing you down. Everyone came up with really creative coasters to take home and I felt like it was a great pick me up for all of us!

So get in some awesome adult time making your own functional and fabulous custom DIY coasters that your husband will never remember to use! Then, of course, be sure to share your finished project using the hashtag #soapdelishowoff on instagram so I can see what you came up with!

How to Create DIY Coasters
What You’ll Need:
blank letterpress coasters
craft paints & brushes
scrapbooking papers
clear acrylic sealer
assorted glitter
foam craft brushes
washi tape
Mod Podge Glue & Sealer
scissors or X-ACTO knife
What To Do:
If you want to make washi tape coasters, begin by applying Mod Podge to the top side of your coaster blank using a foam brush. (You can tell which side is up as the top curves down on the side to the bottom whereas the bottom is completely flat.)
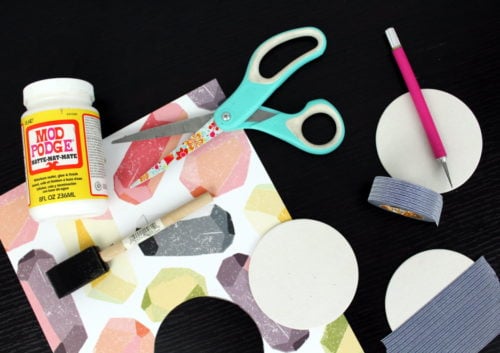
Next, apply strips of washi tape across the top of your coaster so they line up and each tape edge touches that of the one beside it. Cover the entire top of the coaster with the washi tape. Once you’ve covered the top of the coaster, use a pair of scissors or an X-ACTO knife to cut off the excess tape from around the coaster.
Now add another layer of Mod Podge over the washi tape. If desired, you can then dust the top with glitter then cover with another layer of Mod Podge. Allow the Mod Podge to dry, then seal your coaster with several coats of a clear acrylic sealer.
To use scrapbook papers for your DIY coasters, flip the paper over so the image side is down. Then trace around the coaster on your paper. Carefully cut out the circle you traced just inside the line you drew. Then, glue the paper to the blank letterpress coaster with Mod Podge, applying one layer to the coaster, then another over the scrapbook paper once you’ve glued it onto the coaster.
Once dry, trim off any excess paper and seal with a clear acrylic sealer.
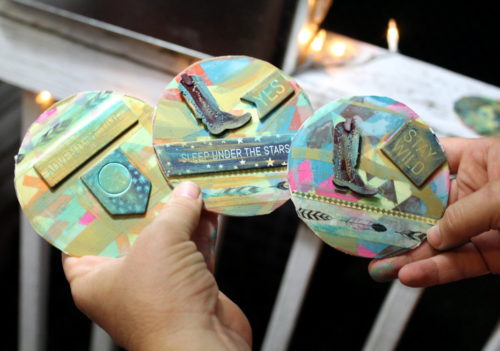
My friend, Hillary, chose to use a combination of techniques. She used scrapbook papers, washi tape, chipboard elements and paint on her coasters!

And because these DIY coasters were so quick and easy to make, she also had time to paint a matching planter from an unfinished modern ceramic planter that I’d picked up at Target!
(If you like Hillary’s artwork you can discover more via her booth at the Aurora Studio Center on Campbell Avenue in downtown Roanoke, VA. Alternately, you can view and sign up for Hillary’s workshops or Wine and Art Wednesdays here.)

Once you’ve created and sealed your custom DIY coasters, all that’s left to do is enjoy them!
If you liked this DIY, be sure to check out some of my other craft projects on Soap Deli News blog here. Or visit my Jonesing for Crafts board on Pinterest for more ideas from around the web.
You can also follow me on Pinterest, G+, Tumblr, Facebook, Twitter, Blog Lovin’, and Instagram. Alternately, you can sign up to receive new posts from Soap Deli News blog to your email via FeedBurner so you never miss a post.


