Easy Wedding Place Card Holders on a Budget Using Clothespins
Learn how to make easy wedding place card holders using clothespins, scrapbook paper and ribbon for your wedding or event on a budget with this easy DIY idea.
Budget Friendly Wedding Place Card Holder Ideas
This tutorial for making wedding place card holders was written by and is reprinted courtesy of Kat’s Krafts.
Need a cute, fun, inexpensive idea for wedding favors or wedding place card holders?
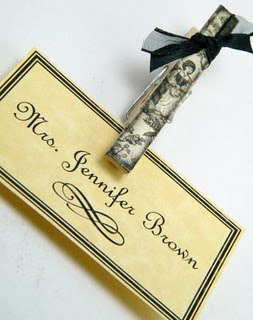
These fun embellished clothespin magnets are the perfect idea for your budget friendly wedding place card holders. They’re super simple to put together and they look great! Plus, you can find many of the supplies you need to make these wedding place card holders at the Dollar Tree (where everything’s $1!)
Also, if you’re not keen on doing-it yourself or don’t have the time, I’d be happy to put together a custom order for you. Check out my etsy shop.
DIY Wedding Place Card Holders
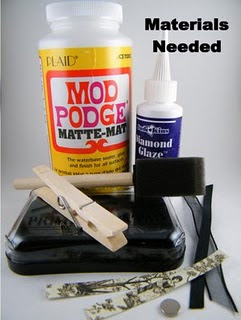
Materials Needed:
Clothespins
Magnets
Mod Podge
Diamond Glaze (or hot glue)
Decorative paper
Ink Pad
Ribbon (optional)
Scissors/paper trimmer
Small foam brush
Instructions:
Step 1
Trim decorative paper to just smaller than clothespin side. You will need 2 strips of paper for each clothespin. Spread a thin layer of Mod Podge along each side of the clothespin (using the foam brush) and adhere the paper to it, pressing out any air bubbles.

Step 2
Using an ink pad and a light touch, distress the outer edges of the clothespin. Allow to dry.

Step 3
Spread another thin layer of Mod Podge over the clothespin sides, to seal, making sure to cover all of the paper edges. Allow to dry. Apply a second coat, if desired.

Step 4
Adhere the magnet to the back side of the clothespin using Diamond Glaze (recommended) or hot glue. Press firmly until the magnet is secure, or the magnet will be attracted to the metal of the spring and may rip your paper. The best position for ease of use as a magnet is just above the spring. Neodymium magnets offer the strongest pull and can be ordered online from many reputable sellers.

Step 5
Tie ribbon onto the clothespin, or embellish any way you see fit! (Other neat ideas include rhinestones, a monogram, or silk flower with button center.) These work wonderfully as place card holders and are a fabulously fun and functional wedding favor!

Now simply use your wedding place card holders on your wedding table — one per place setting to mark your guests place.
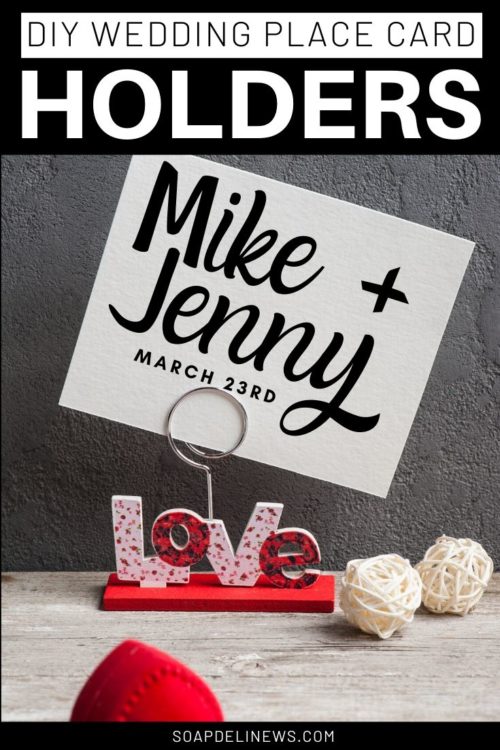
If you like these DIY wedding place card holders made using clothespins, then be sure to pin this project to Pinterest for later. Or discover more wedding inspiration on my DIY wedding ideas & inspiration Pinterest board.
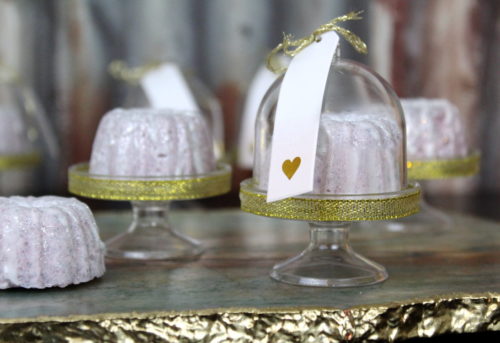
DIY Wedding Favors
Or check out some of these other DIY wedding favor ideas you can make yourself to save money on your wedding.
- DIY Bundt Cake Salt Scrub Wedding Favors
- Easy DIY Soap Wedding Favors
- How to Make Custom Soap Wedding Favors Labels
- Strawberries & Champagne Solid Sugar Scrub Favors
- DIY Rainbow Wedding Soap Favors
- Easy Snowflake Solid Lotion Bar Wedding Favors
Cootie Catcher Wedding Favors
Kat’s Kraft’s is home of the Wedding Cootie Catcher where you’ll find fun and unique wedding favors, place cards, menus and programs.
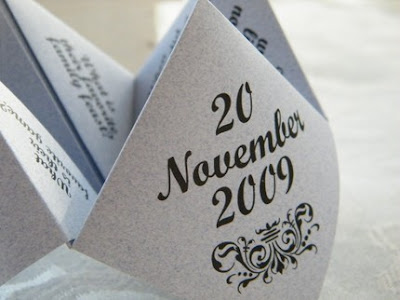
Each cootie layout is as unique as the couple they are designed for. They are personalized with everything to suit each couple’s theme from the paper (there are over 50 colors available!) to the font, the design, and the wording, to the outer names/images, etc. Personalized with questions about you and your fiancé, your guests will be delighted to get to know more about you two as a couple while they mingle with others. (ex.- Where did the bride and groom meet?)
This is perfect for that time when they are waiting on you at the reception venue as you take those all-important wedding photos. Another fun idea is to use these as “dares” to get the party started! (ex.- Ask a stranger to dance.) Learn more about these unique and fun wedding favors at Kat’s Krafts.
For more great project ideas as well as DIY bath and beauty recipes, be sure to follow Soap Deli News across all your favorite social media platforms. You can find and follow me now via Blog Lovin‘, facebook, twitter, pinterest and instagram. Or sign up via feedburner to receive an email every time I share a new post.


3 Comments
Peg
September 25, 2011 at 1:42 am
This is lovely! I’ve added a link to my Lace Crafts lens on Squidoo. I can just see a delicate piece of lace added (like you did the ribbon) to this. ~scarlettohairy on Squidoo
nancy
June 20, 2013 at 3:58 pm
Excited to be sharing this project in a round up today! Thanks for sharing it! http://www.dosmallthingswithlove.com/2013/06/20-crafty-wedding-projects-happy-hour.html
Angela
July 30, 2013 at 2:02 am
Hi
These are beautiful. I was wondering where did you find that decorative paper? It would be perfect for an upcoming event…Thanks for sharing
Comments are closed.