Snowflake Hard Lotion Bar Recipe: Dry Skin Remedy for Winter Skin Care
Naturally care for your dry or chapped skin this winter with this seasonal snowflake shaped hard lotion bar recipe. The perfect dry skin remedy, this easy hard lotion bar moisturizes skin to soothe away irritation and dryness. It also makes a wonderful DIY holiday gift idea or stocking stuffer for friends, family, coworkers and teachers!

Naturally Care for Skin This Winter with Hard Lotion Bars
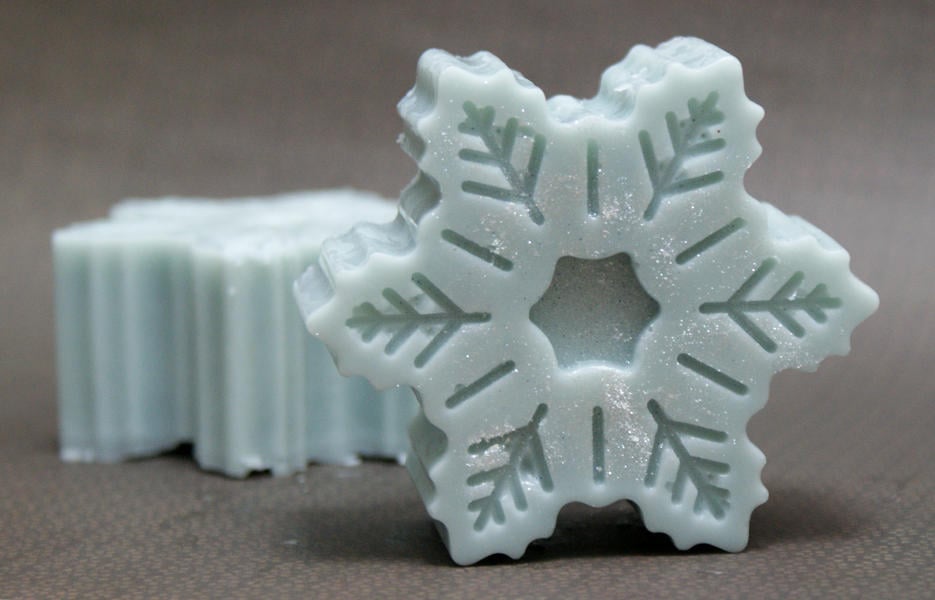
Show your skin some love this winter with these moisture rich hard lotion bars. Crafted from a collection of richy moisturizing carrier oils like argan and camellia seed oils, these cute snowflake shaped hard lotion bars provide long lasting skin benefits all season long. Don’t let your dry skin drive you crazy with all the itching and scratching! Try this natural dry skin remedy instead.

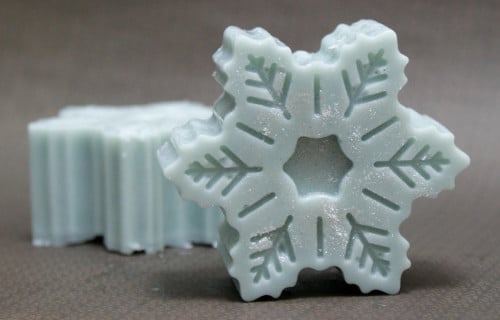
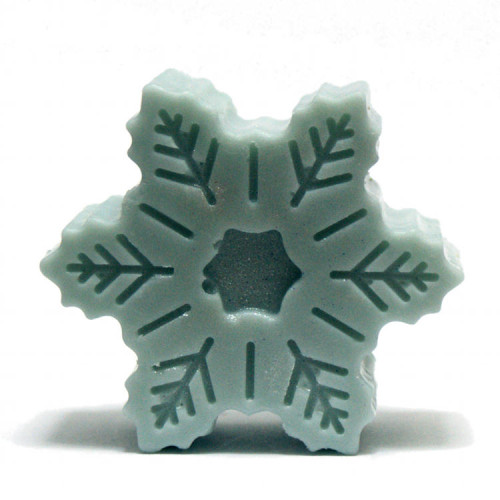
These pretty blue snowflake hard lotion bars have just a hint of shimmer making them the perfect choice for DIY holiday gifts or winter wedding favors. While the clean up can be a bit challenging – I recommend washing everything ASAP and washing it twice in super hot water – you can make this hard lotion bar recipe in just 30 minutes.

Snowflake Hard Lotion Bar Recipe
© Rebecca D. Dillon
Hard Lotion Bar Ingredients:
5 oz. white cosmetic beeswax
3 oz. refined shea butter
1 oz. refined cocoa butter
1 oz. refined coconut oil or babassu oil
2 oz. camellia seed oil (tea seed oil)
2 oz. jojoba oil or hemp seed oil
1 oz. argan oil
.25 oz. fragrance oil or .07 oz. essential oil(s)
1 ml rosemary extract (optional)
1 ml non-GMO vitamin E oil (optional)
pinch matte cobalt blue ultramarine powder
1/4 teaspoon white or pearl sparkle mica pigment (or similar)
Supplies:
One – 6 Cavity Snowflake Silicone Cake & Chocolate Mold
digital kitchen scale
4 cup glass Pyrex Measuring Cup
pot holder or kitchen towel
stick/immersion hand blender
graduated transfer pipettes
butter knife or stainless steel utensil for stirring
spray bottle with alcohol, optional
microwave or double boiler
cutting board
Instructions:
This hard lotion bar recipe will yield six solid lotion bars each weighing 2.5 oz. or more.
Ready to make these fun winter snowflake shaped hard lotion bars? Great! Let’s get started. Start by weighing out the beeswax and cocoa butter into a large 4 cup glass Pyrex measuring cup. Melt these in either a double boiler or at reduced power in the microwave until half melted.
Next, weigh out the shea butter to add to the partially melted beeswax and cocoa butter. Continue heating until all the hard lotion bar ingredients have melted completely.
Now carefully remove the melted ingredient from the microwave using a kitchen towel or pot holder. Alternately, turn the heat off on the double boiler
Then weigh out the coconut oil, camellia seed oil, argan oil and jojoba oils. Stir into the previously melted ingredients for your hard lotion bars.
Use a butter knife or other stainless steel utensil to stir until all ingredients have melted.
Measure out the rosemary extract, and vitamin E using a different plastic transfer pipette for each ingredient. Stir into the melted carrier oils, butters and wax.
Then weigh out the fragrance oil or essential oil. Stir thoroughly into the melted hard lotion bar ingredients. (You can use any skin safe fragrance oil or essential oil of your choice. Otherwise, if no fragrance is desired, simply omit this ingredient.)
Now add a pinch – 1/8th of a teaspoon or less – of the cobalt blue ultramarine powder to the melted ingredients and 1/4 teaspoon of white or pearl sparkle mica.
Using a stick blender, mix the pigment powders into the melted, hard lotion bar ingredients.
Place your snowflake silicone mold onto a cutting board. This allows you to easily move your mold without spilling the ingredients.
Then slowly pour the hard lotion mixture evenly into each of the six snowflake shaped cavities. If there are air bubbles from the mixing process, simply spritz the tops lightly with alcohol until the bubbles are gone.
Now place the mold in your refrigerator (or freezer for a faster cooling time) until the hard lotion bars have all solidified completely.
Finally remove the hard lotion bars from the refrigerator or freezer. Then push each of your snowflake hard lotion bars out of the mold by slowly turning them out of each cavity.

Tightly wrap each solid lotion bar in plastic food wrap film or place each inside an 8 oz. deep round tin with lid for storage or gifting.
To use the lotion bars you created with my hard lotion bar recipe, simply massage onto your skin, then rub in.

More Hard Lotion Bar Recipes
Want to learn how to make more hard lotion bars for your natural skin care routine? Here are some of my other hard lotion bar recipes for making solid lotions to take on the go!
- Vegan Solid Lotion Bar Recipe with Soothing Oat Butter & Lavender
- Cranberry Chutney Solid Lotion Bar Recipe for DIY Holiday Gifts
- Lemon & Basil Solid Lotion Bar Recipe with Essential Oils
- Heart Shaped Solid Lotion Bar Recipe for Valentine’s Day Gifts
- After Sun Aloe Vera Solid Lotion Bar Recipe
- DIY Matcha Green Tea Butter Bars for Natural Skin Care
For more winter themed DIY holiday gift ideas, as well as other DIY bath and beauty recipes, follow my boards on Pinterest! You can also follow Soap Deli News on Blog Lovin’ as well as on Facebook, Twitter and Instagram.


6 Comments
Megan @ All That Glitters
January 6, 2014 at 10:19 pm
These are so cute! I wish I had this kind of talent. I’m pretty sure if I tried to make soap it would be a lumpy mess! Haha!
xox Megan
http://allthatglittersisgold.net
Emily
January 7, 2014 at 12:58 am
These are beautiful! I’ve never tried to make soap before. Soap and candles seem very difficult to me to make. Not sure why.
Dawnia
January 7, 2014 at 9:35 am
Hi,
These look great! Plus wonderful ingredients!! And Emily and Megan, you can do this! You can start with a simpler version. It’s all about learning. The good thing is if you don’t like it, you can melt it down, add more beeswax for harder bars, or more oil for softer.
Rebecca, do you think using the Cera Bellina wax would make these too soft?? I’m going to try a half batch and see. I love that wax, it so creamy!
Thank You!!
Rebecca D. Dillon
January 7, 2014 at 9:46 am
I’m not sure about the Cera Bellina wax. It seems to be the same thing as WSP’s smooth & creamy lotion additive but I’ve only every used it in the shimmer sticks kit they have. I haven’t really experimented with it. These bars aren’t as hard as traditional solid lotion bars though so if you use the Cera Bellina wax I would combo it with some cocoa butter to help get back some of the hardness.
Kristin
January 7, 2014 at 5:34 pm
Beautiful! I bet all of those people who are in subzero weather could really appreciate a warm soak w/some beautiful bars right now.
Thank you for all of your work.
Pinned,
K-
Savony
January 10, 2014 at 12:08 am
I’ve never used lotion bars…sounds like a fun project!
Comments are closed.