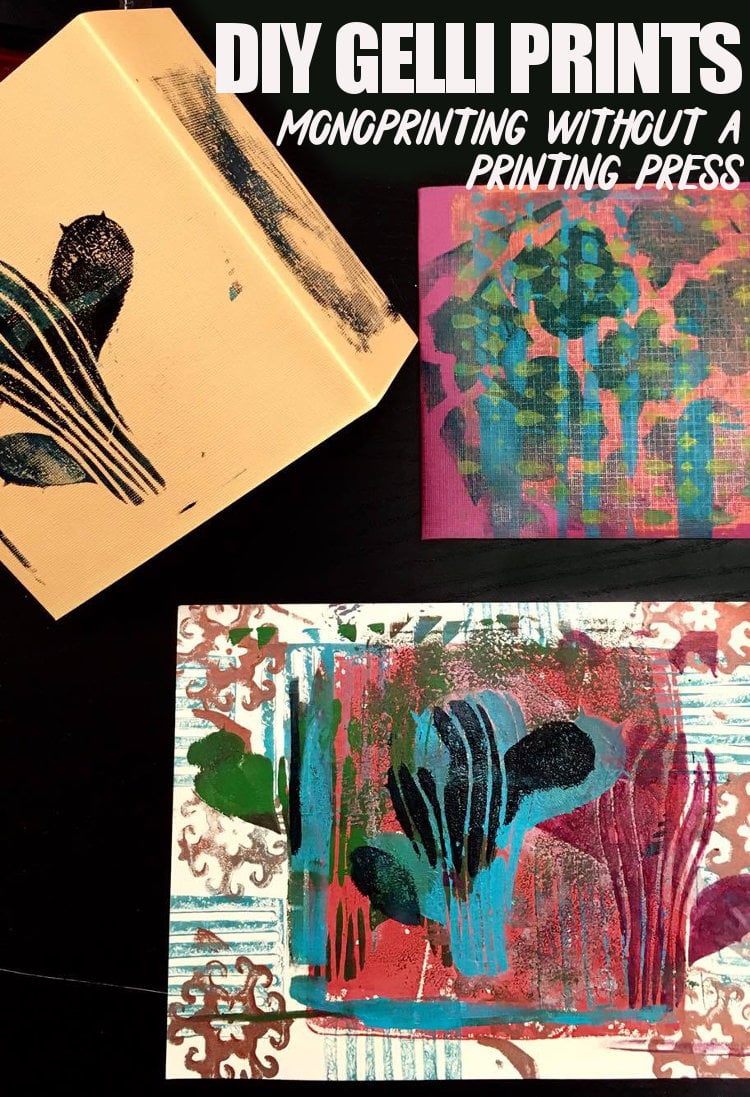
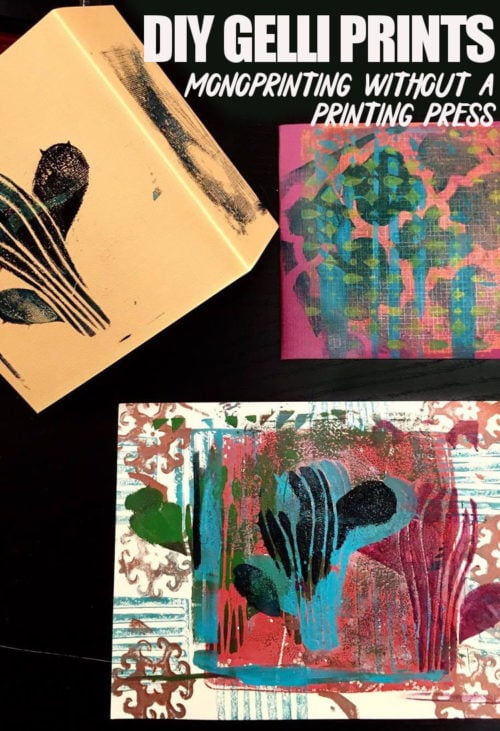
DIY Gelli Printing – Monoprinting Without a Press (A Tutorial)
Add some pop to your home decor with this fresh and fun DIY Gelli Printing Tutorial! Not only is gelli printing super easy and rewarding, but the availability of all-in-one kits makes this project even easier to dig right into!
My friend, Hillary Hardison, recently ventured into self-employment as a full time artist. In addition to creating her artwork, which includes a mix of encaustic paintings and mixed media collages, Hillary is also teaching art classes. DIY Gelli Printing was the first class she taught as the owner of Hardison Art LLC.
Hillary not only offers Saturday art workshops which enable you to learn a new skill but she also hosts Wine and Art Wednesdays on the second Wednesday of every month. (You can register for upcoming classes here.)

Hillary’s first Wine and Art Wednesday was this past Wednesday. I was fortunate enough to be able to attend this event in which she taught DIY gelli printing. Everyone had an absolute blast. Not only was the process of learning how to create gelli prints an informative and rewarding experience, but Hillary’s bright and positive personality made this class a complete gem.
What is DIY Gelli Printing?
Gelli printing is monoprinting using a gel printing plate. Because Gelli Arts® Gel Printing Plate is made out of a gel, it’s extra sensitive surface will imprint any texture that it is sitting upon or covered with. So you can use materials such as bubble wrap, plastic grids, foam stamps, stencils, leaves and string to create unique and beautiful prints.
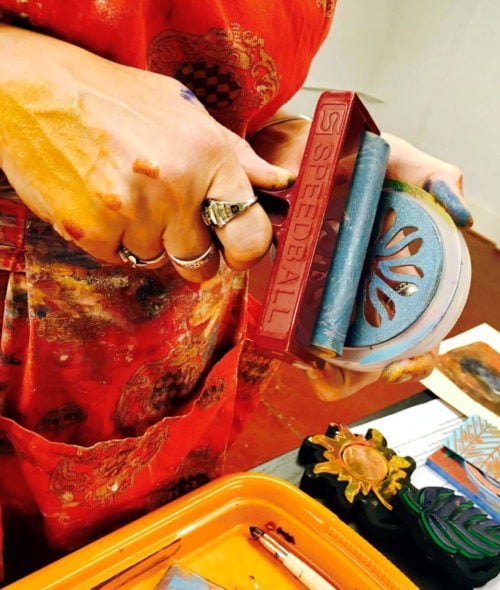
Made using mineral oil and a hypoallergenic polymer material, this vegan monoprinting gelli plate is both vegan and latex free. As it’s not made using gelatin, which was the traditional method, there’s no shelf life so you are able to use your gelli plate over and over again.
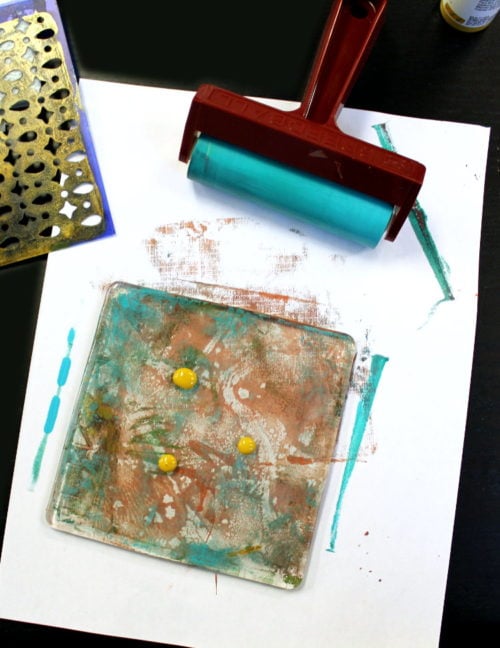
As I enjoyed Hillary’s class on DIY gelli printing so much, I thought it’d be fun to share the process with you all as well. Following is my step-by-step tutorial on DIY gelli printing using the Gelli Arts® Gel Printing Plate.

DIY Gelli Printing with Hillary!

Materials & Tools:
Golden Fluid Acrylics or similar
Gelli Arts® gel printing plate or a starter kit
non-shiny papers

texture tools (such as stamps, leaves, bubble wrap etc.)
spray bottle with water (optional)
stencils
brayer
Instructions:
Begin by gathering all of your materials, then cover your work surface to protect it from paint.
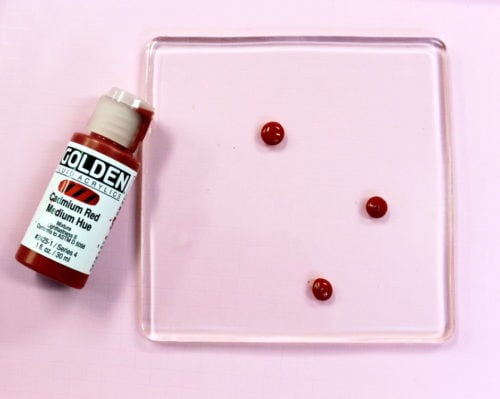
Apply a few drops of acrylic paint to your gelli plate.
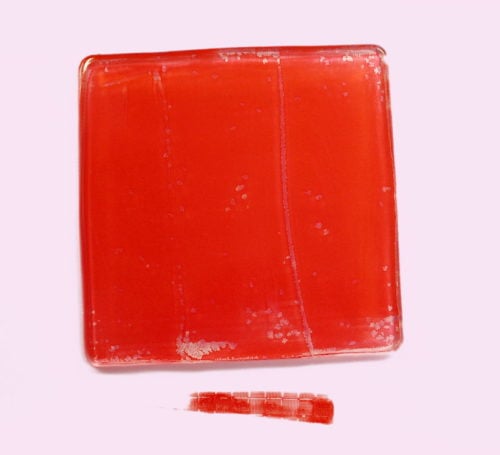
Then use a brayer to smooth the paint out across the surface of the entire plate.
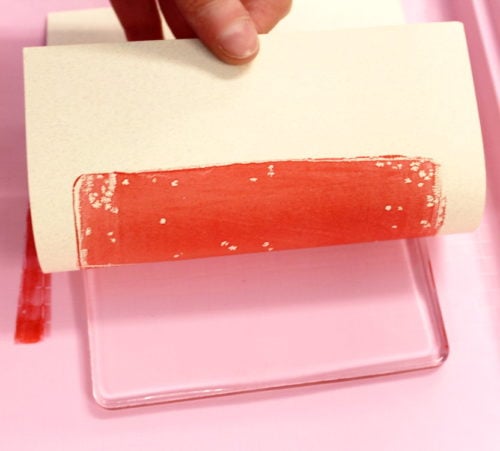
Press paper (or fabric) firmly onto the gelli plate with the paint side up.
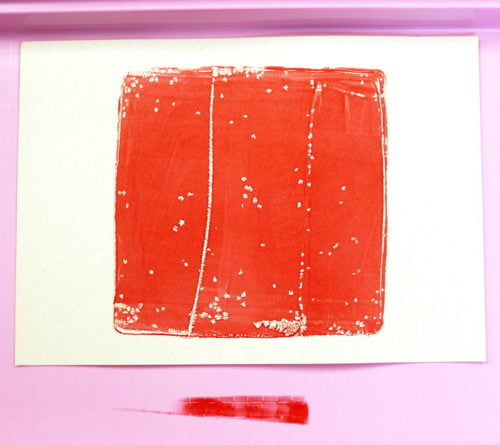
Then remove the paper. You’ve now created the background for your first gelli print!
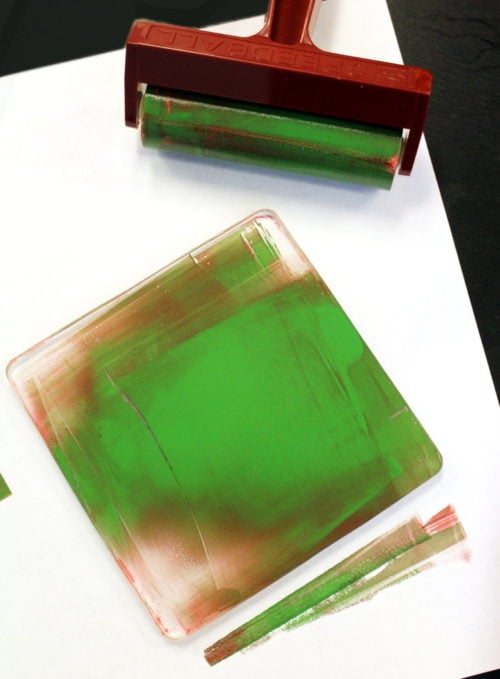
For the next step I used a stencil. Once again add a few drops of paint to the gelli plate, then spread the paint over the surface using a brayer.
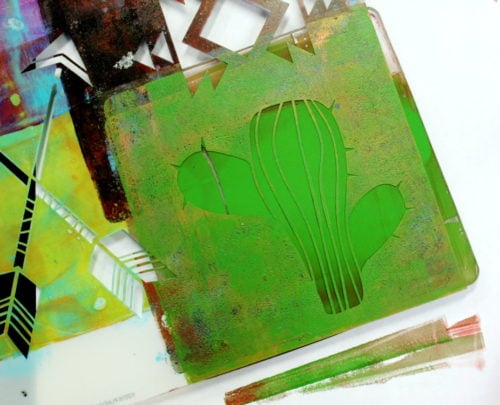
Place the stencil on top of the gelli plate with the paint side up.
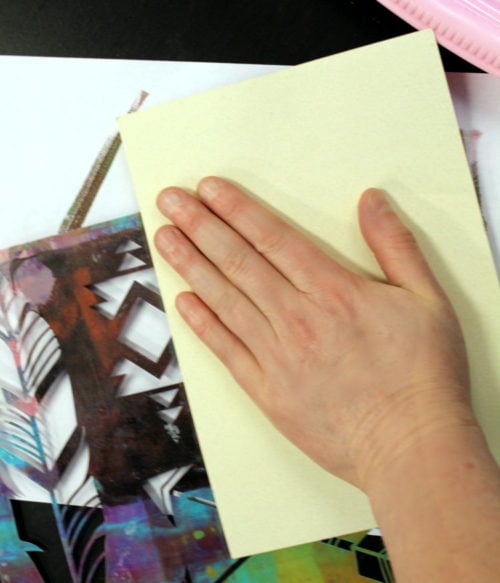
Now press the paper you just printed, image side down, firmly on top of the gelli plate and stencil. (The paint dries quickly so there’s not a lot of waiting.)
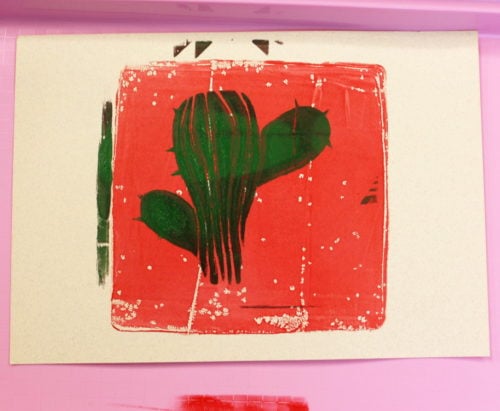
Remove the paper from the gelli plate. You’ve now successfully created a second layer to your print.

Your gelli plate will retain the portion of the stencil not printed.

So you can also press a fresh piece of paper on top of the remaining paint on the gelli plate to create a ghost image.

Continue creating your print by repeating the previous steps with different stencils and materials. Alternately, you can also roll paint onto a stamp to add to your work.
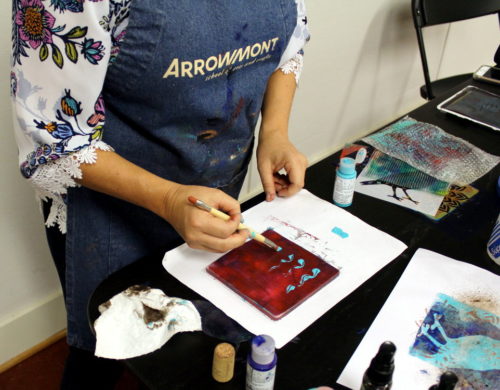
Or try adding additional details by painting free hand using a paint brush.
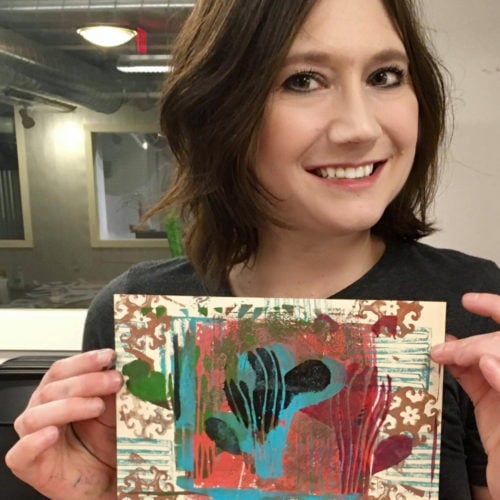
Here’s a shot of me with my first ever gelli print! These are so quick and easy to create that I made several different prints.

Here is an example of some other gelli prints that Hillary made, including the one she is holding, to demonstrate the process.
Another fun thing to try with your gelli plate is to apply rubber combs, stamps and brushes to the painted gelli plate to remove paint before printing. You can also use a spray bottle with water to spray the paint loaded gelli plate prior to printing for a neat effect.

Once you’ve finished making your prints, clean the gelli plate with hand sanitizer and a paper towel. Then place the gelli printing plate between two sheets of copy paper for storage.
You can use the DIY gelli printing method to make handmade cards, gift wrap, fabric patches and pretty much anything else you dream up!

If you’d like to join in on the fun at Hillary’s next Wine and Art Wednesday, you can pre-register for the class here. The next Wine and Art Wednesday is October 11th, 2017 at 6:30pm. It’s a two hour event that is held in the basement classroom of the Aurora Studio Center in downtown Roanoke, VA. Hillary will be teaching everyone to make their own beaded wine charms at the next class! (This is a make and take event.)
Alternately, you can also sign up for her Intro to Encaustic Painting Workshop that is being held on September 23rd, 2017 at 1pm.

If you liked this DIY gelli printing project, then you may also enjoy my tutorial for making DIY Coasters. Made using blank letterpress coasters, this DIY instructs you on how to make fun and functional coasters for your home and to give as gifts.
For more fun art projects and tutorials, be sure to follow my Art Class Pinterest board. You can also follow me on your favorite social media platforms including Pinterest, G+, Tumblr, Facebook, Twitter, Blog Lovin’, and Instagram. Alternately, you can also sign up to receive new posts from Soap Deli News blog to your email via FeedBurner so you never miss a post.
And don’t forget to share photos of the gelli prints you’ve made with the hashtag #soapdelishowoff on instagram! I’d love to see the prints that you come up with!

