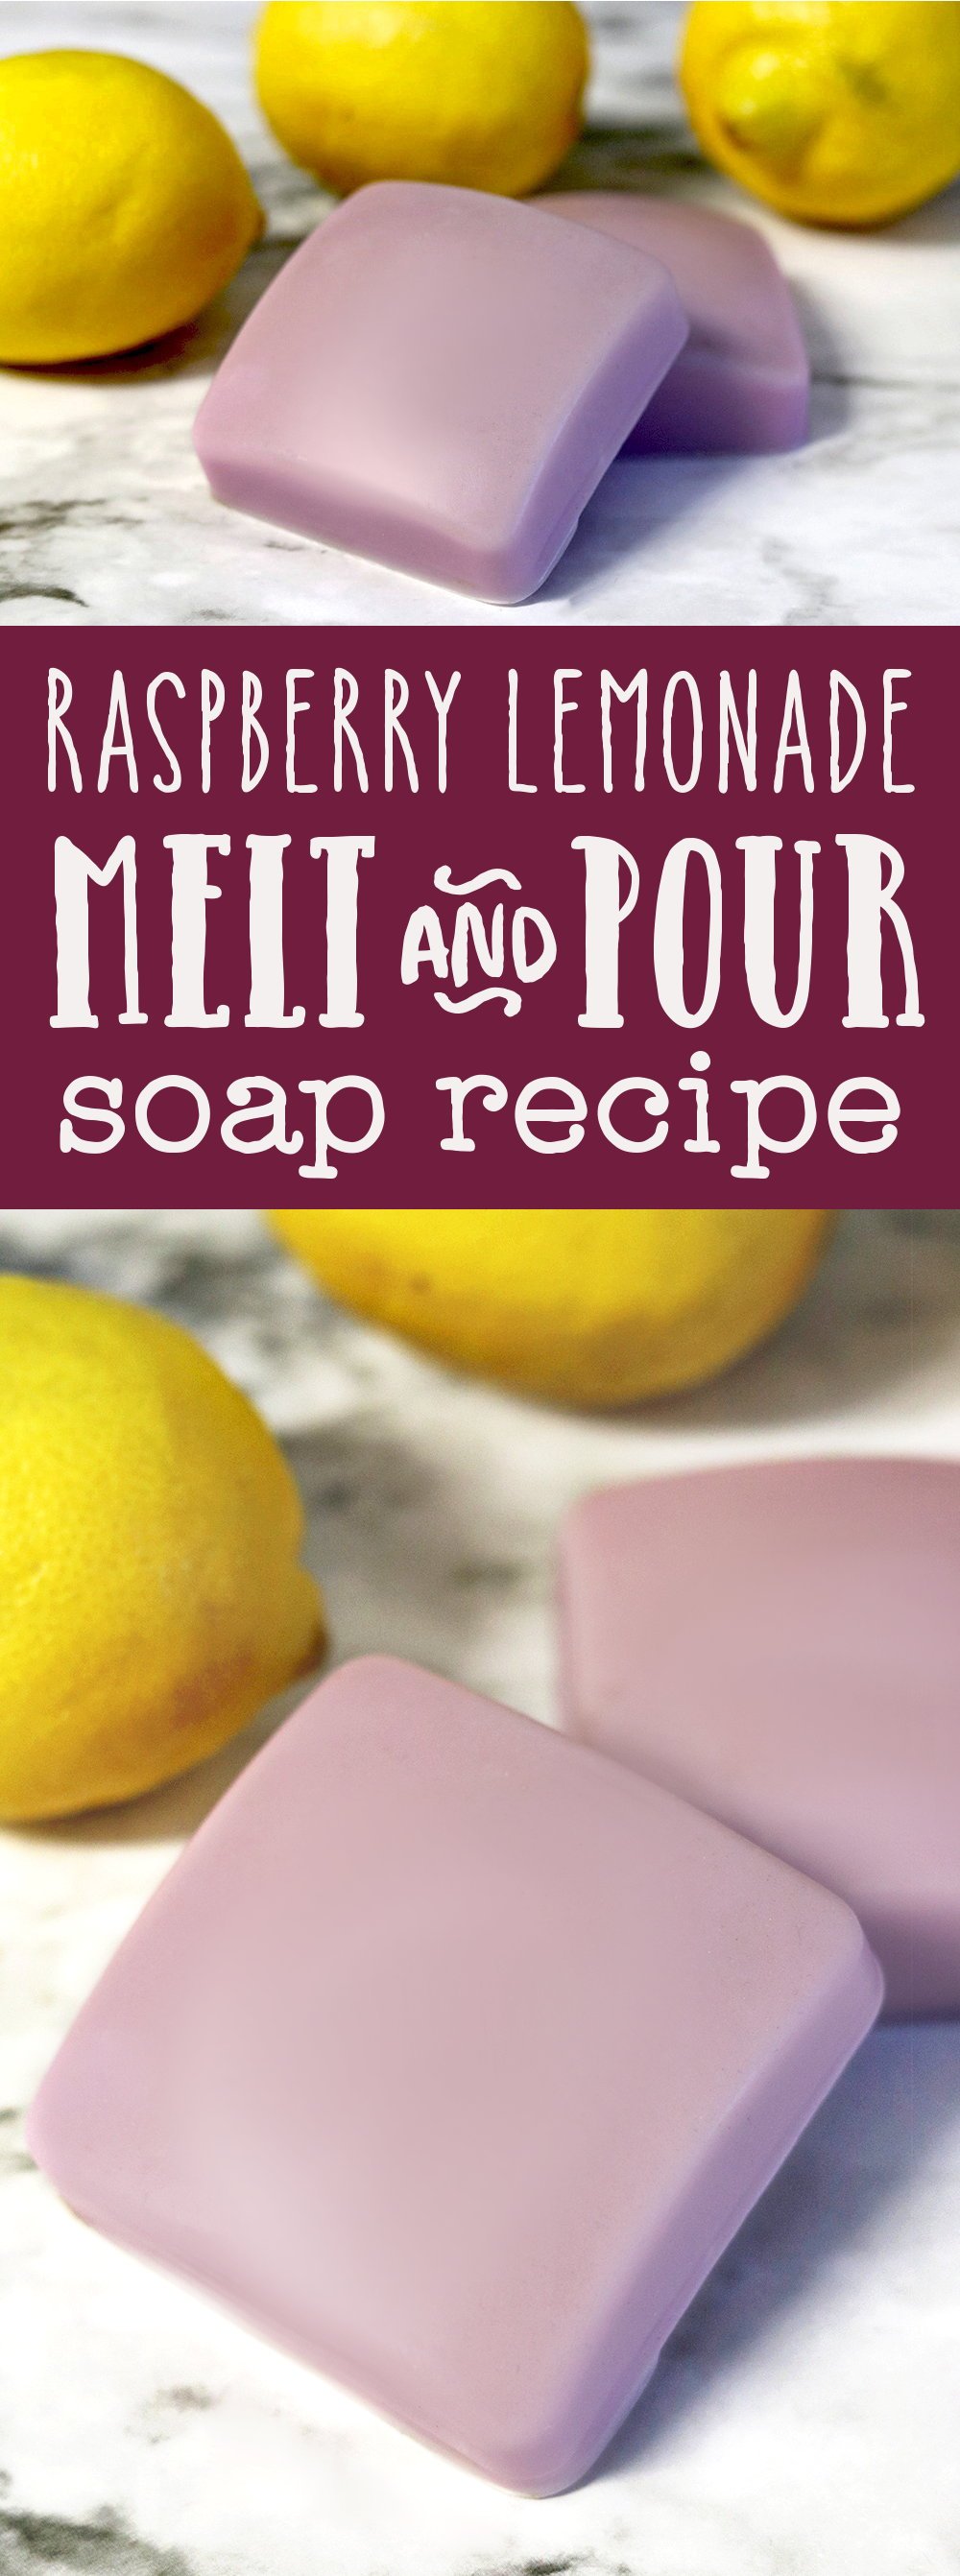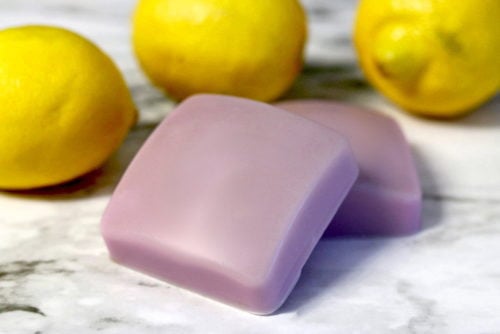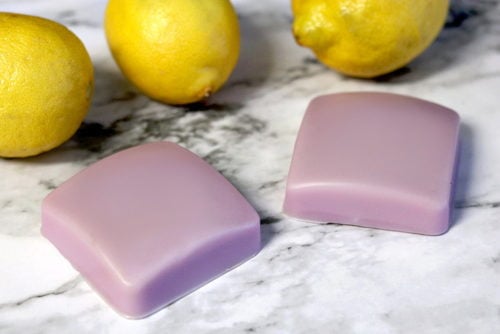
Raspberry Lemonade Melt and Pour Soap Recipe
This raspberry lemonade melt and pour soap recipe takes just 10 minutes to make, making it quick, easy, and inexpensive craft.

Rebecca’s soap recipes always amaze me. I love how she adds so many unique ingredients to her bars to make new recipes. She definitely has a talent.
Over a decade ago, I wanted to make handmade soap. My kids were babies, and I didn’t have a lot of room for supplies. I didn’t want to use lye since my kids could interrupt me at any time, so I decided to try making melt and pour soap.
Also called glycerin soap, melt and pour soap is a great alternative to making handmade soap. It’s relatively inexpensive to make and doesn’t take as long to make or cure. You can also add several ingredients to it to make a custom bar of soap.
I’ve used Rebecca’s handmade soap, and it’s amazing for the skin as well as being beautiful. Melt and pour soap is probably better suited to a hand soap because it’s not as moisturizing as traditional soap, but it can be used on the body.
Melt and pour soap gives you a chance to be creative. There are many molds that you can use to make different shapes. You can make animal soaps, flower soaps, or a basic rectangle bar. You can also add several different additives to make your bar unique.
Melt and Pour Additives
You can add most of the same additives to melt and pour soap that you can to traditional soap, but you can not add anything that has any water. Unlike with traditional soap, you cannot add any fruit or vegetables or fruit powders because they can grow mold.
You can add:
- Chamomile
- Caleundula
- Coffee beans or grounds
- Green tea
- Matcha green tea
- Lavender
- Orange peel
- Lemon peel
- Ginger
- Rose hips
- Peppermint
- Almonds
- Cinnamon
- Clove
- Paprika
- Honey
- Milk powder
- Pumice
- Ground walnuts
- Cornmeal
- Clay
- Aloe Vera Gel
- Oatmeal
- Sea Salt
- Wheat Bran
- Glycerin
As a general rule, you want to add 1 tablespoon per pound of soap. You can also mix two or more of these additives together for even more combinations, just make sure that you adjust the amount so that you’re adding 1 tablespoon.
Some heavy additives may sink to the bottom. You can buy what is called a suspension base. This helps keep additives suspended evenly throughout the bar.
If you don’t have a suspension base, you can still add things to your soap. I wait until the soap starts to form a scum on the top, quickly add it and stir, and then pour.
Other Ways to Customize Melt and Pour Soap
You can add carrier oils or nut butters to your melt and pour soap, too. Again, you can add 1 tablespoon per pound of soap base. These help the soap be more moisturizing for your skin. I generally add shea butter, but you can also add a liquid carrier oil.
I also use infused oils in my soaps so I can have the benefits of whatever I infused it with without adding it to the soap. I like to infuse oils with chamomile for my eczema, so I will add that for the skin benefits of chamomile and benefits of the oil that I used to infuse it with.
For color, it’s best to use soap colorants. You can use food coloring, but I find that the color fades and will be uneven within a few days of pouring the soap. If you’re making it for yourself, you may not care. If you’re selling it, it’s best to leave it natural or use a proper soap colorant.
You can add the color and stir before you pour for all over color. You can also make designs by adding a drop or two after you pour and using a toothpick to swirl the color.
You can also add mica for some shimmer.
To scent your soap, use either a fragrance oil or an essential oil. You can add 1-1.5 teaspoons per pound of soap. It’s best to start with about half of a teaspoon and add more as needed. Some scents are very strong and don’t need much added. For this soap, I used half each of a fragrance oil and essential oil.

Raspberry Lemonade Melt and Pour Soap Recipe
Ingredients:
1 pound melt and pour soap base
1/2 teaspoon lemon essential oil
1/2 teaspoon raspberry fragrance oil
1 tablespoon shea butter
Rubbing alcohol (optional)
Directions:
Step #1
To make this raspberry lemonade melt and pour soap recipe, you’ll begin by cutting the soap base into 1 inch cubes.
Step #2
Place the soap cubes in a heat safe container. I use a Pyrex measuring cup. Microwave on high at 30 second intervals, stirring at each interval, until the soap is completely melted.
Step #3
Add the shea butter and stir until melted. I don’t heat the shea butter in the microwave because it can get grainy when heated. It should melt quickly.
Step #4
Add soap colorant until you get the desired color.
Step #5
Let the soap cool slightly until it is no longer steaming. Adding the essential oil and fragrance oil too soon can cause them to burn off. I generally wait until a scum forms on the top to add them and then stir well.
Step #6
Pour into your mold.
Step #7
Spray with rubbing alcohol to remove air bubbles. This is optional. If you don’t mind bubbles on the bottom of your soap, you can skip this step.
Step #8
Let the raspberry lemonade melt and pour soap cool completely before you try to remove it from the mold. If the soap doesn’t pop out of the mold, place it in the freezer for 10 minutes and try again. If you leave the soap in for too long, it can sweat. Let it sit on a cooking rack for a few days. If you wrap it too soon, it can sweat.
You can use your raspberry lemonade melt and pour soap immediately after you unmold it. It does last longer if you let it cure for a few days, but you don’t have to wait like you do with traditional soaps.
I hope you enjoyed this quick tutorial for making raspberry lemonade melt and pour soap and learned how to make your own custom bar of melt and pour soap!
Visit my Everything Pretty DIY bath and beauty recipe page for more recipes like this one. Never miss a post from Everything Pretty by subscribing to my newsletter.


4 Comments
MariaMay
February 28, 2018 at 11:24 pm
nice post
Angela Fortson
June 24, 2018 at 9:36 am
I just tried your recipe and I will update you on the results…thanks
Rebecca D. Dillon
June 25, 2018 at 7:50 am
You’re welcome!
Sue
September 14, 2018 at 3:53 pm
Thank you for all the tips new to soap making so I found your tips very useful x
Comments are closed.