
DIY Plaster Aroma Stones for Essential Oils (That Double As Kids Sidewalk Chalk)
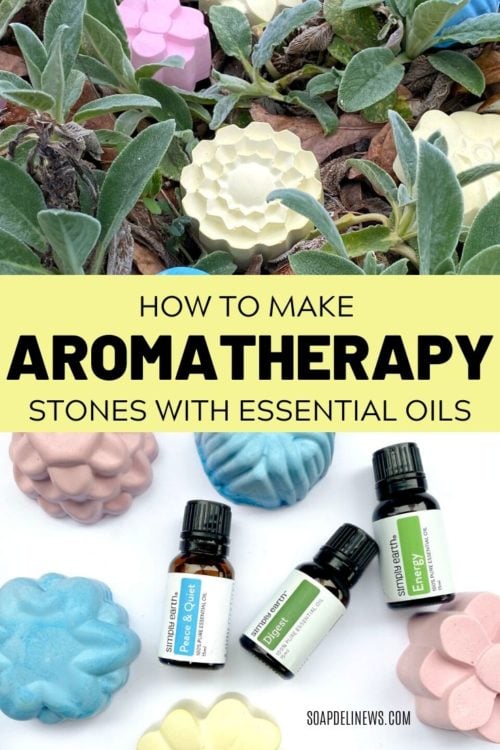
Learn how to make DIY plaster aroma stones for a quick and easy essential oil diffuser. This easy DIY craft project is perfect for the kids to make for Mother’s Day gifts. Plus they can create extras to use themselves. Turns out these essential oil aroma stones actually double as kids sidewalk chalk. So it’s the perfect 2-for-1 activity when you need things to do when bored, or are looking for creative kids crafts to keep your little angelic demons out of your hair. Keep reading to discover how to make my DIY plaster aroma stones for essential oils. Plus easy DIY ideas for kids crafts and activities that I loved as a child.
Last week I got into a groove and started getting crafty. I was going to rock being stuck at home. Unfortunately, it turns out that adult fears outweigh that childhood boredom that kept me entertained as a Gen X latchkey kid. Because my increasing anxiety kicked everything up a notch, including the fibro. And there’s no amount of knocking boots or edibles that can get me back into my magic zen zone.
Everyday is just one day at a time right now. Slowing down and a lot of self care. Hoping things don’t get worse. Worrying that no one I know gets sick. Crossing fingers, legs and toes that my friends who’ve lost their jobs are going to pull through this with some hope (and sanity) left intact. It’s crazy out there. And I’m worried. But I think it’s important to remember that we are not alone. If we stick together as a community and look out for each other, we’ll all be okay. In the meantime, get back to basics by crafting! It’s basically art therapy for stress. (Plus it’ll likely help you cope better than day drinking. Those cortisol spikes cause some pretty wicked insomnia.)
Unplugged Kids Crafts & Activities
I know some of you still have kids at home bored out of their minds. So it can be hard to drag them away from video games and the internet. Since I’m apparently old enough to now be confused with a boomer (Um, hello. My PARENTS are boomers. They are in their 70s.) I have all kinds of ideas for unplugged kids crafts and activities that I did as a child. Because Atari was about as good as it got back then. And I was never great about the whole hand eye coordination thing.
- Mix dirt with grass and water to make pinch pot pottery.
- Learn about edible weeds and herbs by foraging for salads.
- Create an at home restaurant with food, menus and money hand drawn onto paper, then cut out with scissors.
- Bake cookies and brownies and grilled cheese.
- Make paper dolls.
- Attach multiple sheets of paper together with tape, then draw roads on them for toy cars.
- Dig up the yard to make roads for toy cars.
- Use kids sidewalk chalk to draw roads on the cul-de-sac for biking.
- Play dress up with other family members’ clothing, complete with a photo shoot.
- Make furniture for dolls using upcycled cardboard and other found materials.
- Write a zine or start a journal.
- Craft a wearable mermaid’s tail from newspaper, tape and aluminum foil.
- Slam your brother’s finger in a door. When he gets you back, compare blood blisters.
- Make a terrarium with dirt and moss from the great outdoors.
- Use scraps of paper to create mosaic art.
- Sew easy felt finger puppets.
- Build a teepee or fort.
- Craft a diorama with fish or dinosaurs.
- Use paper clay to make a giant volcano for some vinegar and baking soda action. (Complete with red food dye, of course.)
- Learn how to crochet.
- Make a woven wall hanging using a handmade weaving loom.
- Cross Stitch.
- Use leftover fabric to sew a quilt by hand.
- Read a book.
- Forage and identify the leaves of 40 different trees. Press them between wax paper and create a book.
- Make flower necklaces and bracelets with dandelions and clover blossoms.
- Craft friendship bracelets using embroidery thread.
- Make melt and pour soap.
- Learn real life skills through The Lost Art of Reading Nature’s Signs.
- Make solar prints.
- Use fabric crayons or markers to make custom t-shirts.
- Decoupage empty cigar boxes with Mod Podge and scrapbook papers.
- Paint pictures using watercolors.
- Make homemade candles.
They can also make this awesome kids sidewalk chalk. Or DIY plaster aroma stones. Whatever you prefer to call them. Simply whip them up in a fun mold (I used my soap making molds) and have at it.
What Are Aroma Stones?
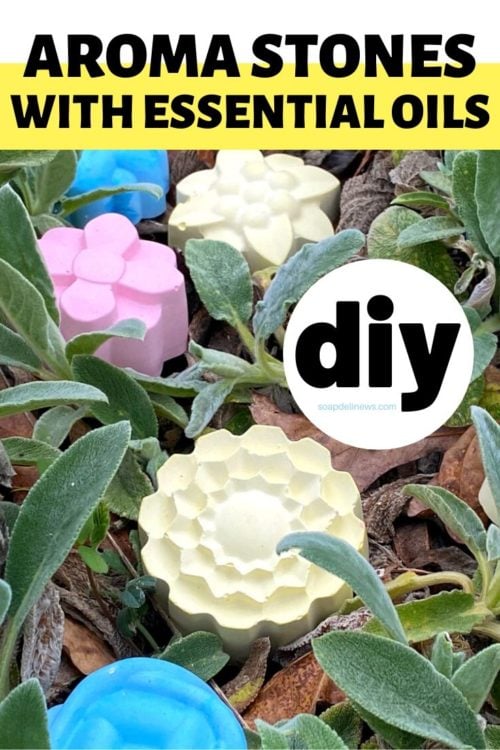
You may be wondering, what is an aroma stone? An aroma stone is basically just unglazed pottery. It’s used as a fragrance diffuser for fragrance oils or essential oils by simply adding drops of your scent of choice to the stone. You can make aroma stones using air dry clay. You can also make DIY plaster aroma stones using plaster. By adding colored mica powder, you can easily add fun colors to your aroma stones. And utilize them as kids sidewalk chalk as well. Here’s how it’s done.
DIY Plaster Aroma Stones (Or Kids Sidewalk Chalk)
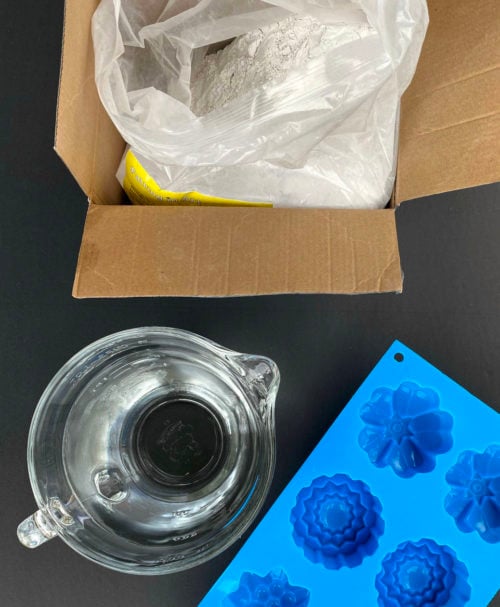
Ingredients:
1 cup plaster
3/4 cup water
2.5 grams mica powder
Materials:
Silicone mold
Mixing bowls
Mixing utensils
Measuring cup
Directions for Making DIY Plaster Aroma Stones:
I made my DIY plaster aroma stones the same way I did my essential oil ornaments. There’s not a huge difference in the process. I used four parts plaster to three parts water with a full size sample package of mica powder for color to create these.
This recipe always works for making kids sidewalk chalk, however, the colors are pretty pastel. For bolder colors, if you’d like your DIY plaster aroma stones to double as kids sidewalk chalk, simply double or triple the amount of mica powder used.
You can also easily increase or decrease the size of my recipe for DIY plaster aroma stones simply by resizing it as needed. Just adhere to the four parts plaster to three parts water ratio. The addition of mica won’t make any difference in the outcome of your DIY plaster aroma stones as far as them holding together.

Once you’ve gathered all the supplies and materials you need to make your DIY plaster aroma stones, use a measuring cup to measure out the plaster and water into separate containers.

Add the mica powder to the dry plaster and mix well.

You want the color to be evenly incorporated throughout the plaster.

Once you’ve mixed the plaster and mica powder for your DIY plaster aroma stones, stir in the water. Continue mixing until there are no clumps and the plaster is completely fluid.
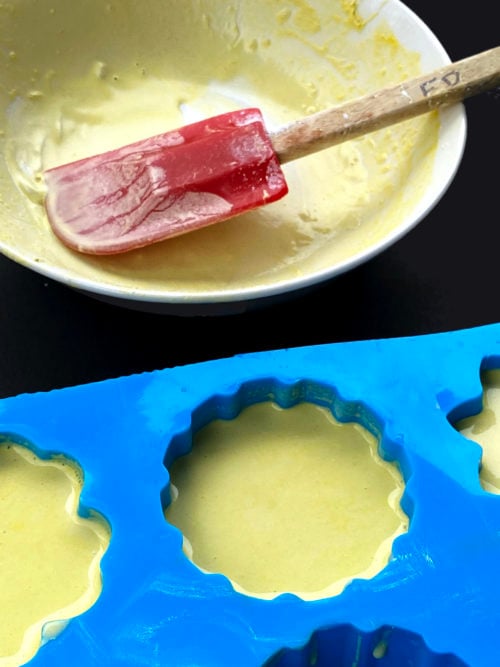
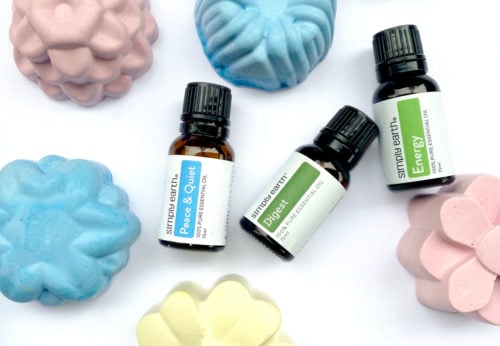
Now pour the colored plaster into your silicone mold. I used these silicone flower molds. The smaller of these two molds will make three DIY plaster aroma stones or kids sidewalk chalk in a single color.
Now use your finger, a spatula or another utensil to pop any air bubbles that may be present. You can also try tapping the mold lightly on your surface area to remove air bubbles. However, I found this challenging as the mold isn’t sturdy.
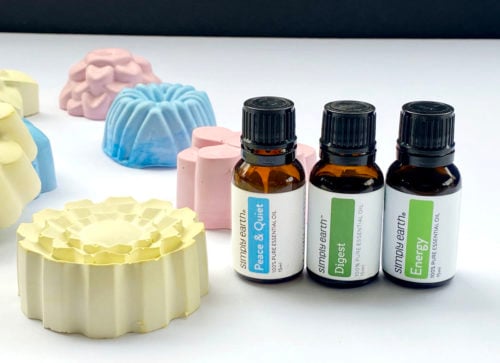
Allow the DIY plaster aroma stones to set up completely. It will take them about 20 minutes or so to fully harden. Once hardened, you can unmold them.
To make additional DIY plaster aroma stones or kids sidewalk chalk in more colors, simply repeat the process using a different color than the first.
How to Use Your DIY Plaster Aroma Stones:
To use your DIY plaster aroma stones, add about 20 drops of your favorite essential oil blend to the tops of the stone. One of my favorite blends right now is Simply Earth’s Tranquility essential oil blend. I find this blend especially helpful during times of stress. (Especially when I can’t find TP anywhere! Am I right?)
You can also create an aromatherapy essential oil blend to reduce stress and promote relaxation for your DIY plaster aroma stones. Simply combine 10 drops manuka essential oil, 10 drops bergamot essential oil and 2 drops lavender essential oil in an amber glass bottle. Then swirl to combine. Then add the blend to your plaster aroma stone to help ease away stressors and promote calm.
(If you’d like to discover more about essential oils, try out new recipes and learn about aromatherapy, then sign up for the Simply Earth Essential Oil Recipe Box. Not only will you receive a coupon for $40 off your next purchase on ANYTHING you like, you’ll also get a free bonus box of ingredients and supplies at no additional cost with your first box. Simply use coupon code: SOAPDELIFREE at checkout. You can find reviews and essential oil recipes from past boxes here.)

How to Use Your Aroma Stones as Kids Sidewalk Chalk:
Using your DIY Plaster Aroma Stones as kids sidewalk chalk is a snap. Simply add additional mica, if desired, when making your stones for that extra color pop. Then give your kids some chalk to play with and enjoy! It works great on streets, sidewalks and paving stones. And, of course, parents and adults can join in the fun too! (You’re never too old to be creative.)
You can find some great ideas for sidewalk chalk art here. Or check out these sidewalk chalk games.

Like my project for making DIY plaster aroma stones? Then make sure you pin this project to Pinterest for later!
If you love home fragrances, then also be sure to try out my DIY reed diffuser with essential oils as well as my DIY wax melts with beeswax.
For more great essential oil recipes and easy DIY ideas, be sure to follow me on Blog Lovin‘, facebook, twitter and instagram for more beauty recipes and ideas for a spa day at home. As well as sign up to receive an email whenever I share a new post!


7 Comments
Irena
April 2, 2020 at 2:19 pm
What a lovely craft idea! I love how versatile this project is!
Celine
April 3, 2020 at 2:53 pm
I love that you can use these as sidewalk chalk! Great idea!
Dee | Grammy’s Grid
April 3, 2020 at 9:42 pm
Never heard of aroma stones but looks fun and interesting! Thanks so much for linking up with me at my #UnlimitedMonthlyLinkParty 11, open April 1 to 26. All entries shared on social media if share buttons installed. I’d like to invite you to check out my other current link parties too!
Cari
April 4, 2020 at 12:41 pm
This is a great project! My kids will love this.
Kyla @ A Life Adjacent
April 4, 2020 at 8:19 pm
This is such a creative idea! I’ve never seen anything like this before. Kids would go crazy for this, but I think it looks fun for adults to make, too! 😉
Heidi | The Frugal Girls
April 6, 2020 at 6:04 pm
our aroma stones turned out so beautifully and I love how you staged them in this photo!
Cassie | Getyourholidayon
April 27, 2020 at 2:55 pm
I never would have thought to make chalk out of this. Such a cool idea!! I’m so glad I found your site! 🙂
Comments are closed.