Deodorizing Air Freshener DIY with Essential Oils to Deodorize Your Home
Learn how to make natural deodorizing air freshener disks with essential oils to freshen your home naturally with this easy DIY project.

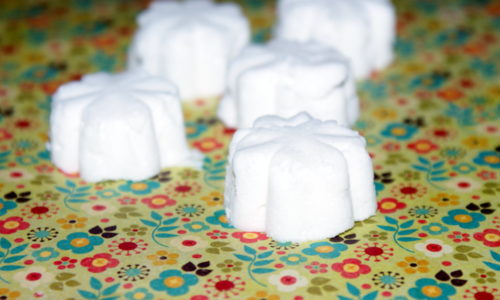
Make your own custom scented, deodorizing air freshener disks for a fresh, non-toxic clean in your home. These flower shaped, deodorizing air freshener disks are easy to make and can be used anywhere in your home! I made mine into flower shaped disks using a silicone chocolate flower mold. Here’s how to make your own homemade air fresheners using essential oils.

DIY Deodorizing Air Freshener Disks
Ingredients:
1 cup plus 2 tablespoons baking soda
1/2 cup distilled water
75 drops essential oil or essential oil blend, of choice
Tools:
Two silicone chocolate flower molds
plastic transfer pipette
glass jars or other container for storage
bowl
fork
Directions:
Measure out one cup and two tablespoons of baking soda into a bowl. Then measure out 1/2 cup of distilled water and add to the baking soda. Using a plastic pipette, measure out 75 drops of your fragrance or essential oils of choice.
The fragrance you choose is entirely up to you and your personal taste. However, if you choose essential oils based on their properties, they can actually do more than just provide a scent and deodorizing power. For example, if you want to use these to freshen closets and keep moths and other insects away, use cedarwood essential oil. Other essential oils you can use to deter biting insects are Citronella, Clove, Lemongrass, Rosemary, Tea Tree, Cajeput, Eucalyptus, Catnip, Lavender, and Peppermint. Combine your favorites to not only deter insects but to create a pleasing fragrance, then place the air freshener disks around your patio area.
Now that you have placed all of the ingredients into a bowl, use a fork to thoroughly blend the ingredients together. Once combined into a thick paste – you can add more baking soda if needed – press the mixture firmly into your molds. Set the molds aside to dry for about 48 hours.
It’s tempting to unmold them earlier, I know. But I tried to unmold mine sooner as I thought they were ready, but they actually weren’t. Mine were still slightly damp and while they came out of the molds easily by turning the molds over, some of them cracked and had pieces fall off. So be patient!

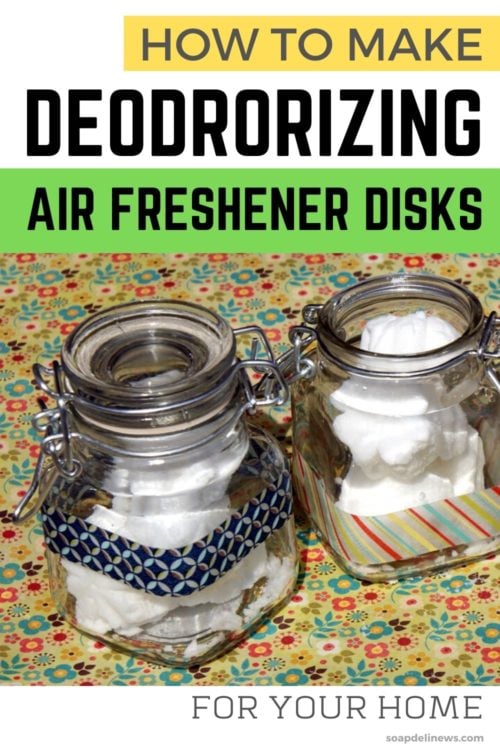
Once your air freshener deodorizers have dried and you’ve removed them from the molds, place them in your desired location. Any air fresheners disks you aren’t using right away, simply store in an airtight container. I used hinged lid glass jars for mine. I found mine at JoAnn’s, but you can buy them from an online supplier as well.
To dress up your storage containers for gifting, simply wrap a piece of decorative washi tape around the jars.You can also try this recipe for making your own homemade gel air fresheners with water, vodka, gelatin and fragrance. For more great diy projects and homemaking tips, be sure to follow my boards on Pinterest!


6 Comments
Linda@With A Blast
April 10, 2013 at 6:07 am
Love this! I like to use those little containers for just about anything and your air freshener in one of those will make a great gift 🙂 Feel free to link it up at our weekly link party !
http://withablast.blogspot.com/2013/04/all-my-bloggy-friends-link-party-41_9.html
Dorene Nowatzke
April 11, 2013 at 1:26 am
I have to try this. Thanks!
Kim
April 19, 2013 at 2:56 am
Want to try this, how long does the scent last?
soapdelinews
April 19, 2013 at 8:47 pm
They should last a month.
Jennifer
July 10, 2013 at 11:57 pm
I love this idea, I am going to make some this weekend with the kids… I think they would have fun making these with me!
Sandie
July 25, 2013 at 11:21 pm
I am going to try these, I bet you could add a few drops of food coloring to make them different colors to match your decor!
Comments are closed.