
DIY Ring Holder for DIY Wedding Gifts or A DIY Valentine’s Day Gift for Her
Learn how to make a hand carved tree stump DIY ring holder. This super cute, rustic ring holder makes lovely DIY wedding gifts. Or gift it as a DIY Valentine’s day gift for her! This is a fun air dry clay craft project for couples and newlyweds.
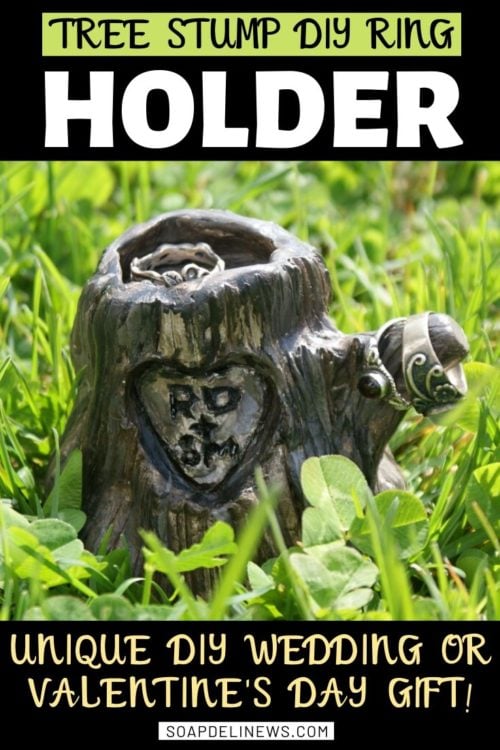
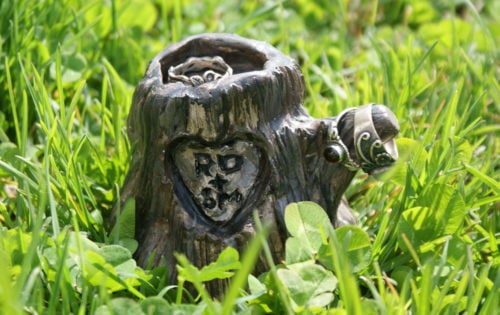
Since spring is wedding season, I thought it’d be neat to make a ring holder for married couples. So I used some of the White Das Air Hardening Clay I had left over from my American Horror Story Inspired DIY Project from February and clay pottery modeling tools to create this cute, handmade carved tree stump DIY ring holder. The design of this DIY ring holder was inspired by the printable gift wrap and gift tags that I made back in December 2011. I simply took that design of a carved tree stump from clay and reproduced it into a three dimensional sculpture.
How to Make A DIY Ring Holder
Here’s how I made a DIY ring holder shaped like a carved tree stump with initials inside a heart. I love this idea for DIY wedding gifts for newlyweds as well as a DIY Valentine’s Day gift for her.
Supplies & Materials:
- White Das Air Hardening Clay
- Clay pottery modeling tools
- Paint brushes & acrylic paints
- Clear acrylic sealer
Instructions for Making A DIY Ring Holder:
To create this tree stump DIY ring holder, I first shaped a chunk of air hardening clay into a tree stump. I then used a wet sponge to help smooth down the edges. (If you’ve ever taken a pottery clay you know what a world of difference keeping a bucket of water and sponge on hand makes.)
Once I had my basic tree stump shape down I used the loop tool from my pottery modeling tool kit to carve out the top of the stump into a shallow nest where I could keep a ring. Next, I used it to carve the heart shape out of the clay stump. I followed with a damp sponge to smooth the edges of my DIY ring holder.
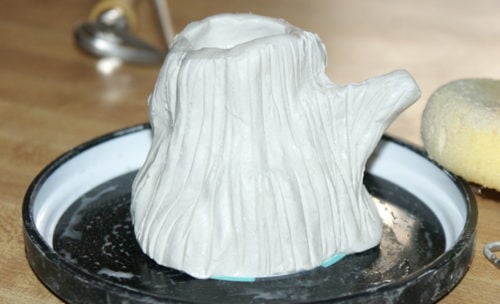
For texture, I then used the wooden potters rib to give the stump texture. I did this by running lines along the outside of the stump all the way around the piece.

Finally I used the needle tool to carve around the inside of the heart and to etch the initials inside the heart shape.
Now that my tree was made, all that was left was to let my DIY ring holder dry. For faster dry time I recommend carving out some of the clay from the inside of the piece from the bottom. Otherwise, your stump may take longer than 24 hours to dry.
I left mine my DIY ring holder a solid, hefty piece and it took a week to dry completely. For even drying to avoid cracking, you can also cover loosely with a piece of plastic during the drying period.
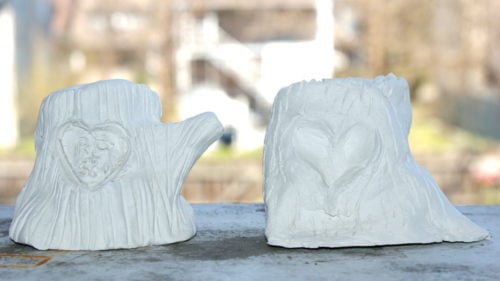
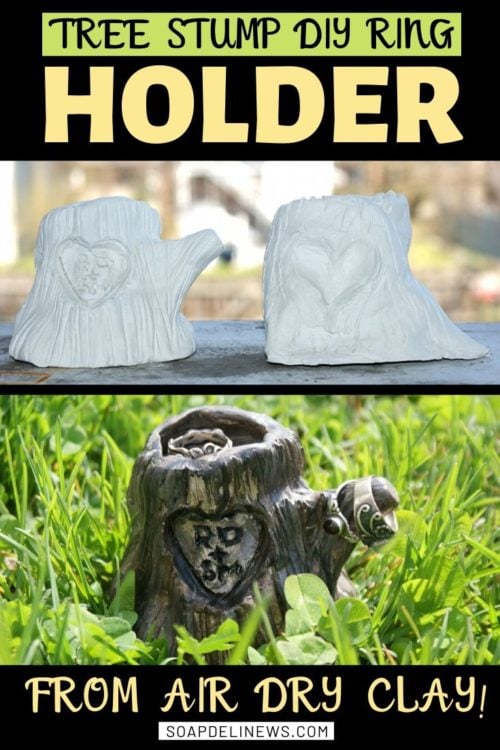
My son and I both worked on this project together. These are our tree stump ring holders after they had finished drying. Mine is on the left while his is on the right.
Once dry you either paint your finished DIY ring holder or simply cover with a clear acrylic sealer.
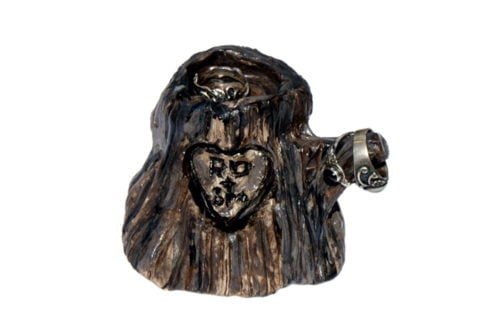
Based on feedback from my followers on my facebook page, I painted my ring holder. I used three colors – black, brown and white. I painted inside the heart and initial grooves with black as well as some of the grooves around the stump. Then I painted over most of the stump with brown. I followed by painting the rest with a mixture of brown and white as well as a wash of color in some areas.
Rings fit neatly inside the top of the tree stump on this piece as well as on the branch. It makes a tidy and decorative place to keep up with rings when they are removed. After all, no one wants to lose their wedding ring!
If you like my couple inspired DIY ring holder, then be sure to pin this idea for DIY wedding gifts or DIY Valentine’s day gifts for her to Pinterest. Also be sure to check out my DIY project for making a cactus ring holder from polymer clay.
For more DIY wedding gift and project ideas, be sure sure to follow my DIY Wedding Ideas & Inspiration Pinterest board! Or discover more DIY Valentine’s Day gifts for her on my DIY Valentine’s Day Gifts Pinterest board.
To discover more DIY gift ideas, be sure to follow Soap Deli News across all your favorite social media platforms. You can find and follow me now via Blog Lovin‘, facebook, twitter, pinterest and instagram. Or sign up via feedburner to receive an email every time I share a new post.



6 Comments
Unknown
April 7, 2013 at 4:59 pm
It turned out amazing, anyone would love to have a memento like this. A job well done!
Rebecca D. Dillon
April 7, 2013 at 5:04 pm
Thank you so much. I’m glad you like it. 🙂
silverdaisiesstudios.com
April 8, 2013 at 6:12 pm
So cute!!
Amy Renea
April 9, 2013 at 6:40 pm
I ADORE these!!! I am so inspired!
(Found you via Looksi!)
Adrianne
August 14, 2014 at 8:55 pm
Rebecca, I was on the hunt for tree-themed crafts and found your post – and was thrilled to see it belonged to you! I’ll be including a link in a round-up I’m putting together. This is adorable, great inspiration!
Rebecca D. Dillon
August 15, 2014 at 8:38 am
Thank you! 🙂
Comments are closed.