DIY Conversation Heart Soaps with Custom Messages for Valentine’s Day
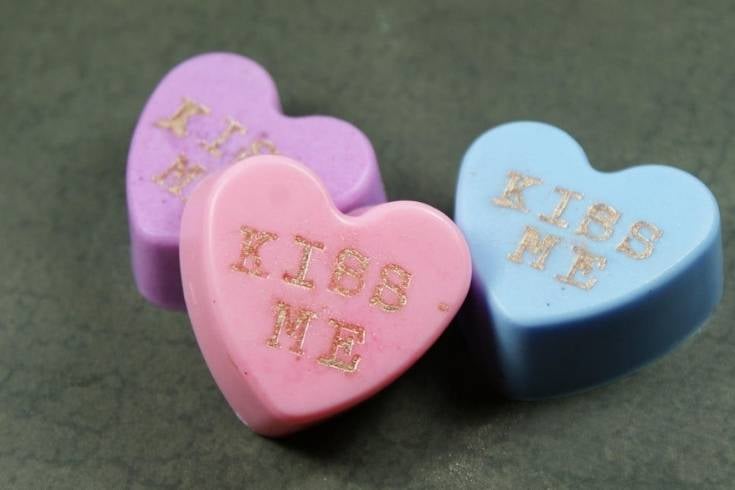
Learn how to make conversation heart soaps for DIY Valentine’s Day gifts or wedding favors. This easy melt and pour soap recipe is a breeze to recreate. Use alphabet stamps and mica to create custom messages on soaps that you can’t get from a mold with this quick soap making tutorial. Try this fun soap crafting project today!
Custom Valentine’s Day Soaps
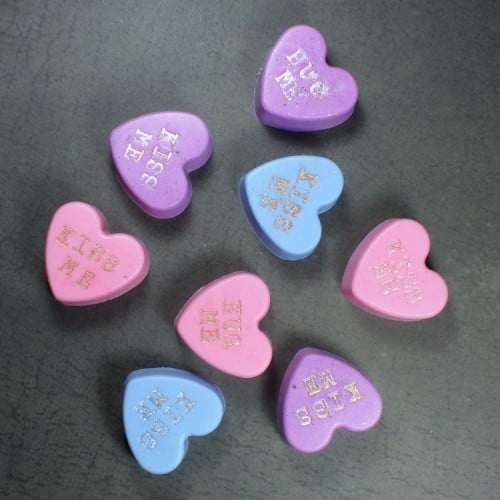
We’ve all seen heart shaped soaps that look like those candy conversation hearts. Unfortunately, many of these soap making tutorials instruct you to use a soap mold with predetermined letters or phrases. This doesn’t work so great if you want to create your own special message to a loved one. To skirt this issue, I created a simple guide on how to create Valentine’s Day soaps with custom messages. So, you can tell you valentine anything you like — even if it’s a not so common phrase.
As my DIY conversation heart soaps are made using a melt and pour soap base, they’re incredibly quick and easy to make! Even better, this fun gift idea can be made and given to friends or family on the very same day. As melt and pour soap has already been saponified, no cure time is needed prior to use. Therefore, these conversation heart soaps can be made in an afternoon and are ready to gift as soon as they’re ready. Simply package them in a plastic jar or wrap each Valentine’s Day soap individually in food service film. You can also gift them inside candy treat bags tied with a ribbon.
Not only does this project produce lovely homemade Valentine’s Day gifts, but you can also use these guest sized soaps for DIY wedding favors for your party guests! Formulate your message and design your next holiday gift today! My soap crafting tutorial makes it easier than ever to give a meaningful, personalized gift.
DIY Conversation Heart Soaps
© Rebecca D. Dillon
Melt and Pour Ingredients:
These are the ingredients you will need to complete this easy melt and pour soap recipe:
- 3.5 oz. white melt and pour soap base, of choice
- .05 oz. skin safe fragrance oil of choice
- Crafter’s Choice color bar(s) of choice (or liquid soap colorant)
- mica(s) of choice
Tools & Supplies:
You will need the following tools and supplies to make these heart shaped Valentine’s Day soaps:
- digital scale
- Wilton Easy Flex Heart 24-Cavity Silicone Mold
- spray bottle with isopropyl (rubbing) alcohol
- alphabet stamps
- utensils for stirring
- large glass Pyrex measuring cup
- Chef’s knife
- microwave

How to Make Conversation Heart Soaps
This conversation heart soap recipe yields four guest sized soap hearts. Here is how to make this recipe for custom soaps:
1. Begin by using a digital scale to weigh out 3.5 oz. of your white soap base. Cut into square chunks and place into a glass Pyrex measuring cup. Heat in the microwave in 20-30 second increments until melted, stirring in between heating. Keep a close eye on your soap and be careful not to let it boil.
2. Now add a small section – 1/4 of 1/2 – of one of the squares of your soap color bar and stir until it melts completely. Start with a small amount at first and add more color only until you reach the desired color. (The white soap base is used to give your conversation hearts soaps a pastel look. If you prefer not to have pastel conversation heart soaps, use a clear melt and pour soap base instead.) Alternately, you can use any other skin safe soap colorant of your choice.
3. Now weigh out the fragrance oil you want to scent your soaps. (If you prefer to use essential oils, use half the amount.) Stir the fragrance into the soap base.
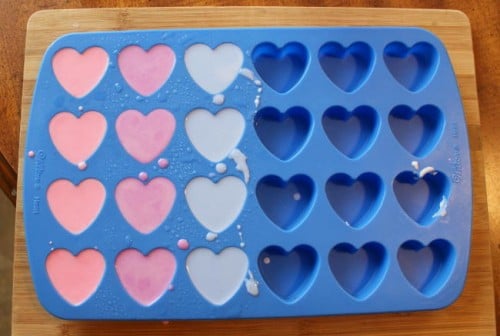
4. Now pour the soap evenly into four of the heart shaped cavities of your silicone mold. Spritz the tops of the soap with rubbing alcohol to remove any air bubbles.
5. Now repeat the same process with any additional colors you’d like to use.
6. Allow your conversation heart soaps to cool completely before removing them from the mold. (You can speed up the process by placing the mold onto a cutting board before you pour the soaps, then easily transfer it into the refrigerator once all of your soaps have been poured.)

7. While you are waiting for your soaps to harden in the mold you can test stamping mica onto a plain piece of soap. Simply tap a small amount of mica – I used a bronze and Diamond dust micas – and spread it evenly into the lid of the mica jar or onto a paper plate or other flat surface. Then press the alphabet stamp into the mica to coat the stamp. Now simply press the stamp into the soap base to leave behind an imprint.
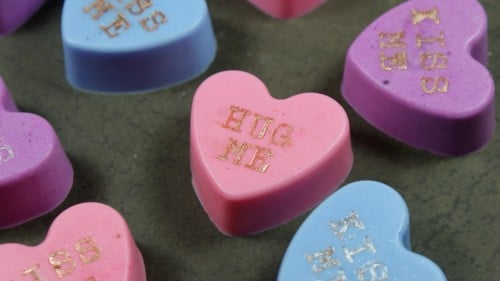
8. Once your soaps have hardened and cooled, remove them from the soap mold cavities. Place them with the larger, smooth side down onto your work surface. Now use your alphabet stamps and mica to stamp your message(s) onto your conversation heart soaps.
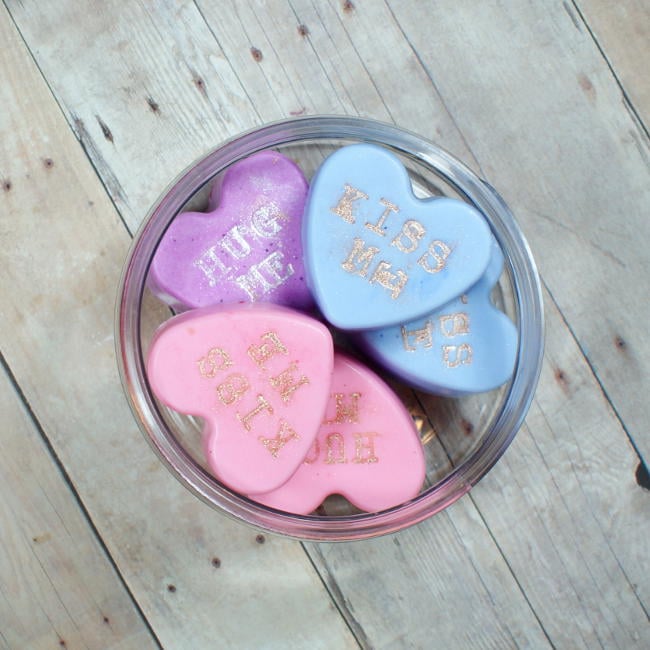
Package Your Custom Heart Shaped Soaps
Once you’ve made your soap, it’s now time to package this. Packaging your melt and pour soaps helps to ensure the integrity of the design. It also prevents your soaps from sweating due to humidity or moisture in the air.
In order to package your conversation heart soaps, I recommend wrapping them tightly in foodservice film. You can also combine them in a clear, airtight container as illustrated above.
Once you soap packaging is complete, your heart shaped soaps — and their special messages — are ready to be gifted to your favorite people on Valentine’s Day!
If you like my DIY conversation hearts, you may also like my Valentine’s Day heart jelly soap recipe that jiggles like Jell-O! You can find that recipe here along with 18 more DIY Valentine’s Day gift ideas here. Or discover even more DIY Valentine’s Day gift ideas by following my DIY Valentine’s Day Gifts board on Pinterest.
For more of my homemade soap recipes as well as other skin care recipes and craft projects, be sure to follow my other boards on Pinterest as well. You can also find me on Blog Lovin’, Facebook, Twitter, and Instagram.


2 Comments
Emily Huval
January 12, 2016 at 7:35 pm
Yes!!! Rebecca, I have these heart molds AND I think I have stamps some place. Thanks for a great idea!
Rebecca D. Dillon
January 12, 2016 at 9:56 pm
You’re welcome! These were fun!
Comments are closed.