How to Throw a DIY Bath Bomb Party
I’ve hosted several craft & cocktail nights already this summer. One project in particular however that a lot of friends and acquaintances wanted to try was bath bombs. But the logistics of setting up a DIY bath bomb party for a large group of people was a bit daunting.
As I only own one scale and everyone wanted to create their own custom bath bombs it took a bit of planning to pull the whole thing off. So, just how do you throw a DIY bath bomb party? Keep reading to learn how!
How to throw a DIY bath bomb party!
Step One
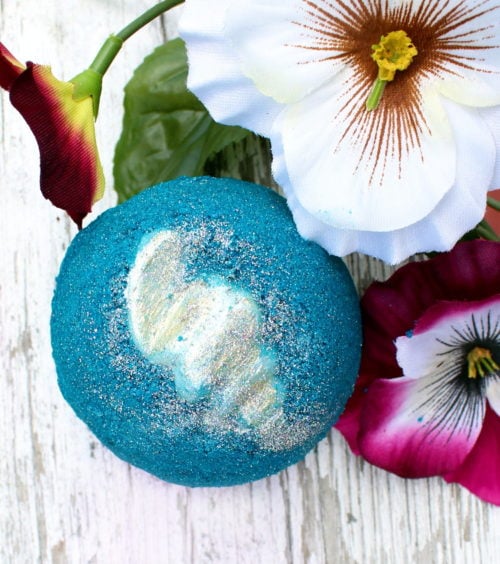
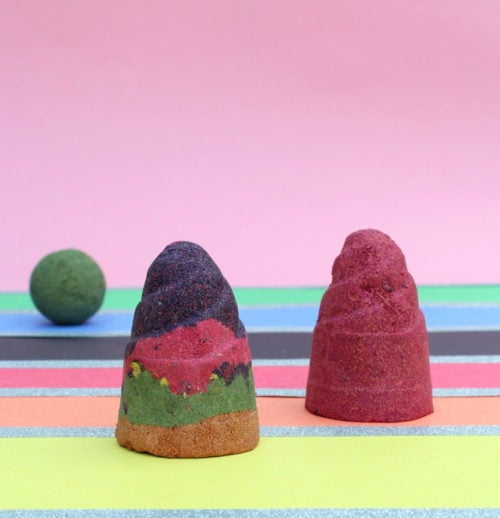
Your first step in planning a DIY bath bomb party is to choose a bath bomb recipe. (I used a spin off of my fizzing bath truffles recipe here for my DIY bath bomb party. Pictured above is my mermaid lagoon bath bomb for which you can find the recipe here.)
My recommendation is to look not only for a simple beginner bath bomb recipe, but perhaps use a no fail bath bomb recipe. You’ll also want to consider how your bath bombs are going to hold up in your current climate. Heat and humidity have a bad habit of turning a bath bomb success into a bath bomb fail and you don’t want your party guests to be disappointed.
Once you’ve found a recipe you think will work for your DIY bath bomb party, try it out! You’ll not only need to be sure that the recipe is easy to create, but that it’s going to be the success you’re hoping for. In addition, you’ll need to be confident in making the bath bomb recipe that you’ve chosen so you’re able to instruct your guests on not only the ins and outs of this project, but also to offer helpful tips if someone seems to be struggling to get it right.
Step Two
The next step will be designing a bath bomb instruction sheet! This sheet should offer customization choices for your party guests.
I created my recipe and instruction sheet with the title of the bath bombs at the top of the page followed by a space that my guests could write in their name and the creation date of their custom bath bombs. I then typed out a list of the basic ingredients that would be needed to make the backbone of the bath bombs. This was followed by customization choices where party guests were able to write in the types and amounts of the additional ingredients they chose to use.
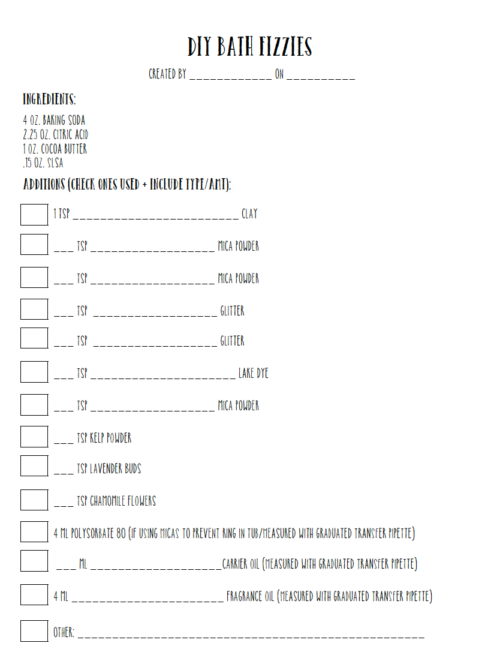
You can offer just one or two options for customization such as color and scent for a quick and easy project. Alternately, if you have a lot of various materials on hand, you can also offer different options for butters, carrier oils, clay, micas, lake dyes, and/or botanicals. For each of the additional ingredient options, you can either pre-fill in the amounts needed or let your guests choose which ingredient to use. You can also create the recipe so that all of the additional ingredients are entirely optional.
I used a high amount of cocoa butter in the DIY bath bomb party recipe I chose to help the bath bombs stay together and unmold easily even in the summer heat. However, if you also want to give your guests the choice of using hard or even soft butters in their bath bomb recipe, then keep in mind you will need a way to melt the butters.
I have only two microwaves and very little kitchen space. Therefore my guest created bath bombs in stages in sets of two with one group picking up where the next group left off. This also allowed for those a little shy about plunging right into the process time to get a feel for how it all worked.
For my liquid additives, I designed my DIY bath bomb party recipe sheet so that carrier oils, fragrances, etc. were measured out in mL using graduated plastic transfer pipettes which can be purchased inexpensively in bulk. The dry ingredient additions were also measured in teaspoons rather than a weight measurement as I currently only own one scale. This way no one was on the sidelines of the process for too long.
Once you have the logistics for your bath bomb recipe worked out, type up an instruction sheet for your DIY bath bomb party guests in a word program. Then simply print off enough sheets for everyone who will be in attendance. (You’ll want your guests to RSVP early so you have time to purchase enough supplies for everyone as well as to print off the correct amount of instruction sheets you’ll need. It’s up to you whether or not you’ll charge a materials fee.)
Step Three
Once you’ve decided on your recipe and options, you’ll need to decide what type of bath bomb mold to use. I opted for halving the bath bomb recipe I chose in order to use smaller 1.75″ diameter round bath bomb molds. This allowed everyone to make a handful of bath bombs rather than just one or two large ones.
In addition, it also enabled everyone to take their bath bombs home while they were still in the molds. This way no one felt pushed to unmold their bath bombs too early. And no one had to worry about picking them up later if they chose to wait. It also kept their bath bombs from being damaged in transport home and they got to keep their molds. The smaller molds also allowed more guests to attend without driving up the cost of purchasing enough large 2.75″ bath bomb molds for everyone to create several bath bombs each.
Otherwise, you’ll need to allow enough time during your DIY bath bomb party for the bath bombs to harden enough to be unmolded prior to your guests leaving.
Step Four
Either the night before or the morning of, create a basic DIY bath bomb party kit for each of the guests who will be in attendance. By doing this, your guests don’t need to fight for access to a scale in order to weigh each of the ingredients. It also makes the process less daunting for first timers and leaves more time for social interaction.
For my DIY bath bomb party kits I weighed out 1 oz. of cocoa butter (per my recipe sheet) for each guest and put it into a snack sized zipper bag. I then weighed out and combined baking soda and SLSA into a sandwich zipper bag for each guest along with a third bag with the citric acid. Each kit was then placed into a brown paper bag with the three ingredient bags and bath bomb molds.

Step Five
With your DIY bath bomb kits ready to go and guests arriving later in the day, it’s time to lay out your additional ingredients that your party guests can choose to use in addition to the kits.
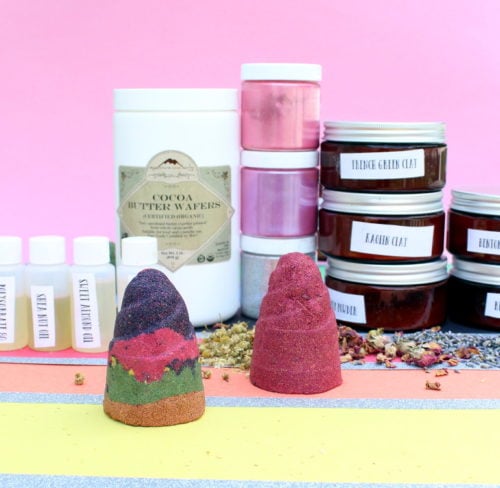
For my carrier oils and Polysorbate 80 I filled 2-3 small 2 oz. bottles for each liquid ingredient. This allowed more hands to access the same ingredients at the same time. This also helped to prevent cross contamination on larger bottles of ingredients that you’ll be using in future products. You can do the same thing with your fragrance or essential oils if desired. Or simply be sure everyone is using a fresh pipette when they are adding more valuable resources that you aren’t able to divide into smaller containers for this purpose.
Make sure to label your smaller containers with sticker paper so everyone knows what’s inside of each one.
I then filled low profile jars with various clays and botanicals and labeled them as well. I left my mica colors and glitter in the original containers.
Be sure to set up a container of fresh pipettes and measuring spoons on your ingredient table along with large glass mixing bowls – one for each guest – utensils and/or large glass Pyrex measuring cups. If you only have one set of measuring spoons and are short on glass mixing bowls, ask if some of your DIY bath bomb party attendees can bring a set of their own.
You’ll also need to set out the bath bomb recipe instruction sheets and some pens. In addition, I also included a roll of masking tape for everyone to tape their bath bomb molds closed together once they were made for easier transport home.
Step Six
It’s finally time to get your party on! Once everyone arrives for the party I recommend kicking things off with light appetizers or a cheese tray and some wine or sangria. Unless of course you’re hosting a teenage DIY bath bomb party. In which case you could whip up one or two pitcher mocktails just for fun!
Once everyone has had a chance to get settled in, do a meet and greet to get comfortable. Then pass out the instruction sheets, kits and pens to each party guest. Go over the basics of making their bath bombs then instruct the group as begin the fun filled journey of making their very own DIY bath bombs!

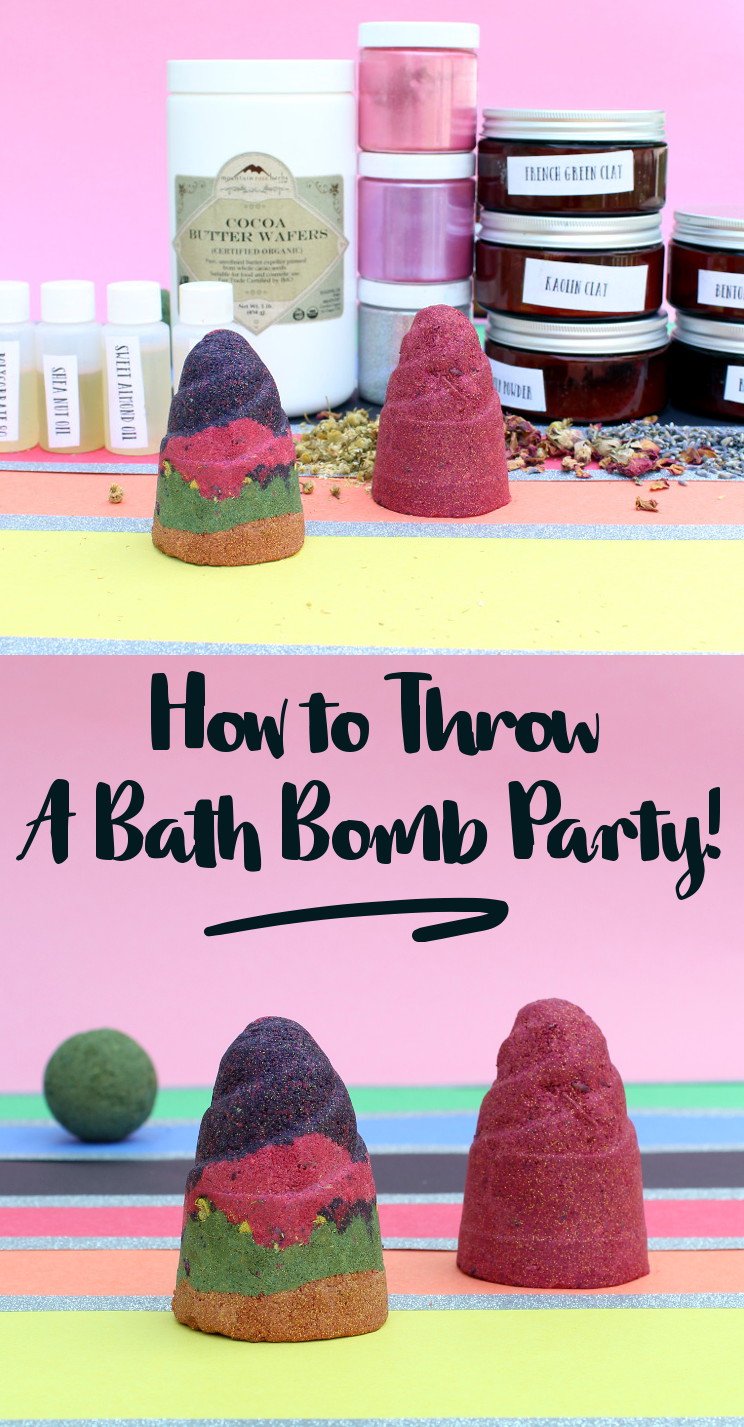
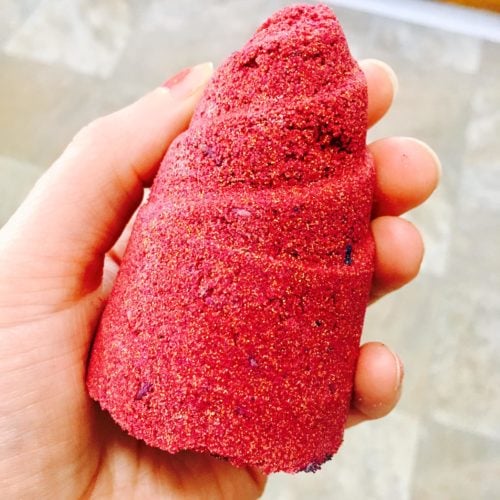
Once everyone had completed their individual bath bombs at my party, my guests also combined the leftover bath bomb mix they’d made into layers into a popsicle mold to make unicorn horn bath bombs. These made for some really creative unicorn horn bath bombs especially since everyone chose different additives and fragrances.
I unmolded the unicorn bath bombs the next morning – you do need to give these a solid tap to get them out – and distributed them among my friends in attendance the next time I saw them.
If there’s time after everyone has made their bath bombs and not everyone is ready to rush off, then I recommend relaxing with a fun party game afterwards! My friends and I recently had a ton of fun playing Exploding Kittens with the first expansion pack, Imploding Kittens, after a DIY Nail Polish Craft & Cocktail Night.

If you like my ideas for throwing a DIY bath bomb party, then you may also like my ideas for having a unicorn party! You can find my guide on how to throw a unicorn paint party here!
For more entertaining and party ideas, be sure to visit my Party Ideas board on Pinterest. You can also find some great cocktail recipes on my Cocktail Hour Pinterest board.
Or to discover even more great DIY ideas, be sure to follow me on G+, Tumblr, Facebook, Twitter, Blog Lovin’, and Instagram. Or sign up to receive new posts from Soap Deli News blog to your email via FeedBurner so you never miss a post.


1 Comments
Luna Ghobar
December 3, 2017 at 4:52 am
Hi Rebecca,
Love the way your step by step guide. I will be hosting a bath bomb workshop for kids during the holidays. Would love and appreciate any tips to make it go smooth.
Thanks a lot.
Comments are closed.