DIY Nail Polish: A Fun Women’s Craft Night Idea for Entertaining Friends
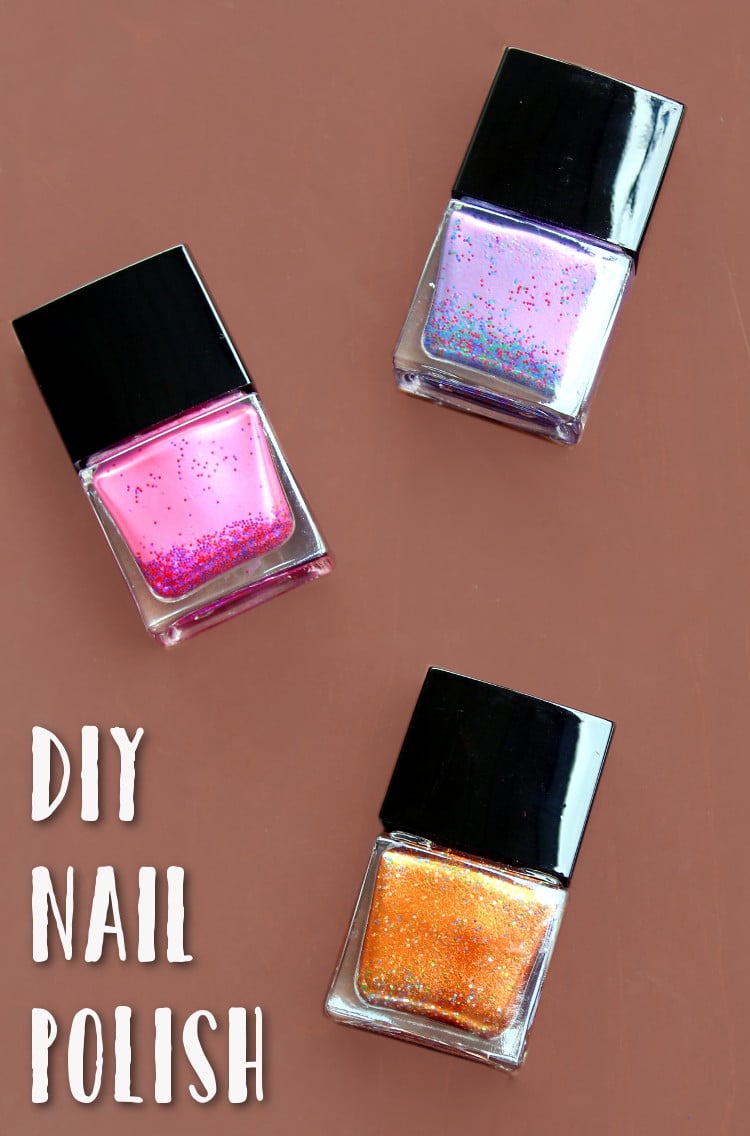
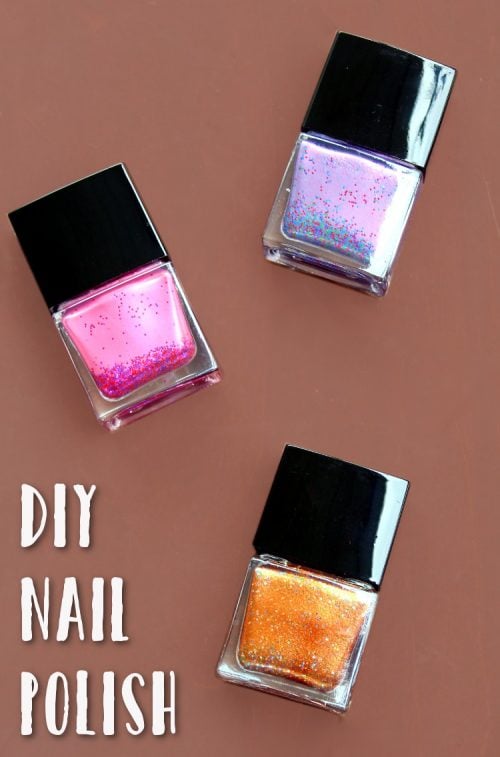
Learn how to make custom color DIY nail polish with this fun women’s craft night idea. The first of a number of women’s craft nights I have planned, I used this opportunity to create custom DIY nail polish with some of my very favorite people! It’s a really easy project that I’d been wanting to make for a while, but just hadn’t gotten around to. Luckily having friends over for a craft night was just the motivation I needed!
Fun Women’s Craft Night Idea
I had been wanting to try this DIY beauty project for a while but had kept putting it off. I finally took the plunge, bought the supplies so my friends and I could have a women’s craft night and make DIY nail polish together.

Creating custom nail polish makes a wonderful DIY for a women’s craft night as it’s actually a really easy project to do. This way everyone can have fun and catch up with friends – as well as make new ones! – without having to worry about making mistakes with a project and going home disappointed.

To start off our DIY nail polish women’s craft night, we first settled in with a cheese board I threw together and cocktails comprised of vodka and Belvoir Fruit Farms Elderflower and Rose Lemonade. (These are SO good. I buy my Elderflower and Rose Lemonade from The Fresh Market. You can mix it with either vodka or gin as strong as 1 part vodka to 1 part lemonade and it’s delish!)
After everyone was comfortable and we’d chatted for a bit we dove into making our own DIY nail polish.
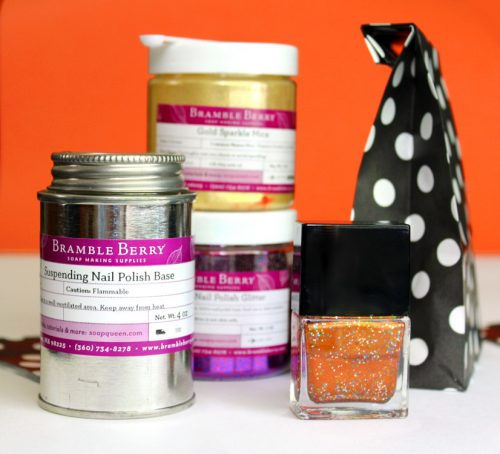
I purchased my supplies for this DIY nail polish project from Brambleberry. You’ll need their suspending nail polish base and nail polish mixing balls for this project, along with mica pigment powders to color your polish and solvent resistant or nail polish glitter, tiny 18mm funnels, mini .15cc scoops and nail polish containers of your choice. Toothpicks also come in handy. (If you don’t want to buy everything individually, Brambleberry also sells kits.)
I also bought some cute little decorative bags from my local craft supply store for everyone to take their completed projects home in. Once, you’ve gathered all of the materials needed for your DIY nail polish, you’re ready to begin!
How to Make Custom Color DIY Nail Polish
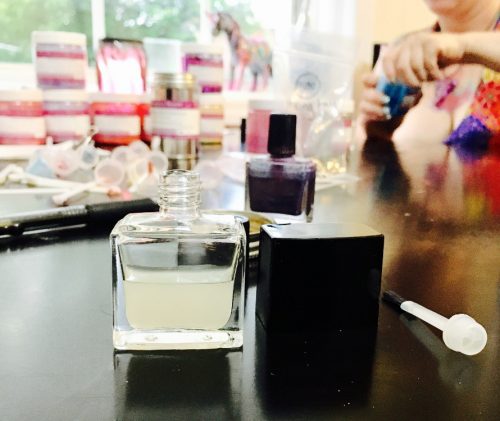
To make your own DIY nail polish, you’ll begin by carefully pouring the suspending nail polish base into the nail polish bottle. We tried using a funnel for this but the funnel opening is too small to really get the nail polish base into the jar. This does take a little bit of patience.
Fill your nail polish bottle about 3/4 of the way full with the suspending nail polish base. Once you’ve added the base, drop 2-3 nail polish mixing balls to the nail polish container.
(As a side note, be sure to do this on a dedicated craft table or with a placemat underneath your work surface. The first time I made this some of the nail polish base spilled onto the tablecloth and went through to the table, taking the paint off.)
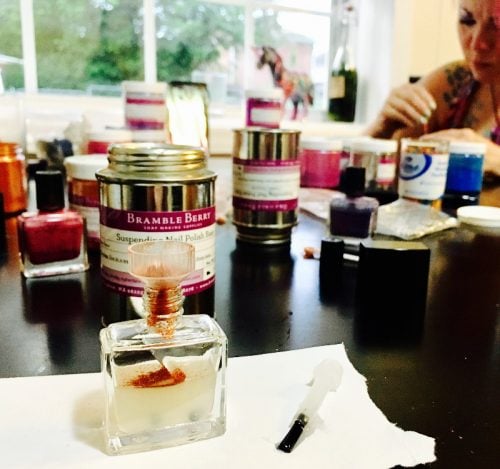
Next, using a funnel, add mica pigment powder in your color(s) of choice to the bottle. I recommend 4-5 of the mini scoops for an opaque color. Or use less for a sheer color.

Tap the funnel into the nail polish jar to fill it. You can use a toothpick to help push more of the color into the jar if the funnel gets clogged.
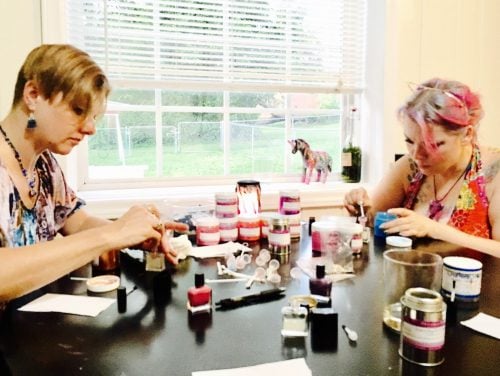
If desired, you can also add glitter to your custom color DIY nail polish. We found using a small scoop for the glitter worked best and omitted the use of a funnel for this step.

Once you’ve added the color and glitter, add the brush and lid to your nail polish container.
Shake well then test out your new nail polish on a finger. If desired, you can add additional mica and/or glitter to suit.

Be sure to keep track of the mica color(s) and the number of scoops you use for your nail polish in a notebook or an a piece of paper so you can recreate it later.

Once you’ve achieved your perfect DIY nail polish color, you can decorate your nail polish bottles.
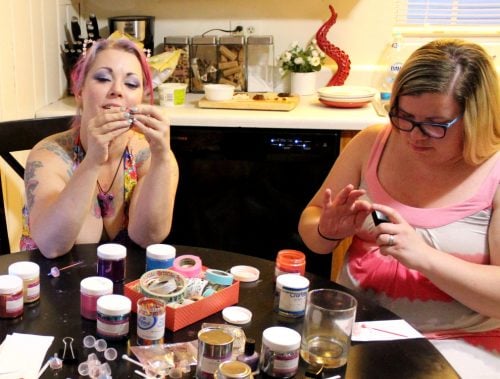
We used washi tape to decorate our nail polish bottles but paint pens work great too.
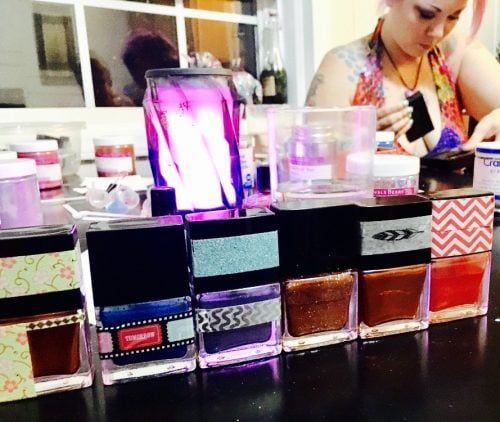
And that was it! Our new DIY nail polish was ready to rock!
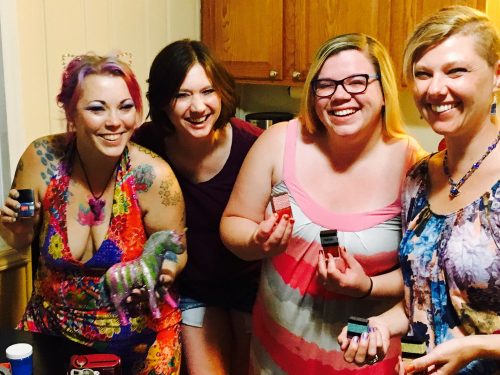
We had a LOT of fun with this project and were each able to make more than one nail polish.

Afterwards, as there was still loads of time left in the evening, we broke out the card game, Exploding Kittens. None of us had ever played before so Bambi, who loves games, took the lead and read the rules. She also kept us straight when got confused.

Cathy got a kick out of the card instructions. (I’d purchased the NSFW version.)

Once we’d played our first game of Exploding Kittens, we played a second with the first expansion pack, Imploding Kittens.

Cathy rocked the cone of shame as she was already wearing her kitty ears! She is always such fun and a great sport about everything!
Anyhow, I hope you enjoyed this super easy DIY nail polish tutorial as well as a peek into my first women’s craft of the summer! If you’ve thrown your own women’s craft night, I’d love to hear what you did. So be sure to give me the skinny in the comments! Also be sure to check out twenty other women’s craft night ideas.
For more ideas for entertaining friends or hosting a party or women’s craft night, be sure to visit my Party Ideas board on Pinterest.
You can also more great DIY craft ideas by following me Facebook, Twitter, Blog Lovin’ and Instagram. Or sign up to receive new posts from Soap Deli News blog to your email via FeedBurner so you never miss a post.


