DIY Painted Pumpkins for Fall That Will Wow Your Neighbors
Rather than fuss with the mess of carving Jack O’ Lanterns that don’t last past Halloween, this year I decided to create my own DIY painted pumpkins! I even hosted a pumpkin paint night for me and my friends. I thought everyone came up with some really fantastic ideas for painting their pumpkins. And not only are these DIY painted pumpkins perfect for Halloween, but they can also be brought indoors for a seasonal fall table centerpiece!
Hosting your own pumpkin paint night is a snap. I simply provided boxed wines, snacks, paints and craft supplies while my guests brought their own paper mache pumpkins. If you don’t already have an arsenal of craft supplies on hand, you could also request that each guest bring a small container of paint and/or their own brushes in addition to the pumpkin of their choice. A pumpkin paint night is also a great idea as an alternate adult or teen Halloween party!
Following are some of the highlights from my pumpkin paint night I hosted last week when my friends and I created our own DIY painted pumpkins. But don’t forget to read to the end to see how you can recreate my sparkle painted pumpkin – plus more fall craft ideas!
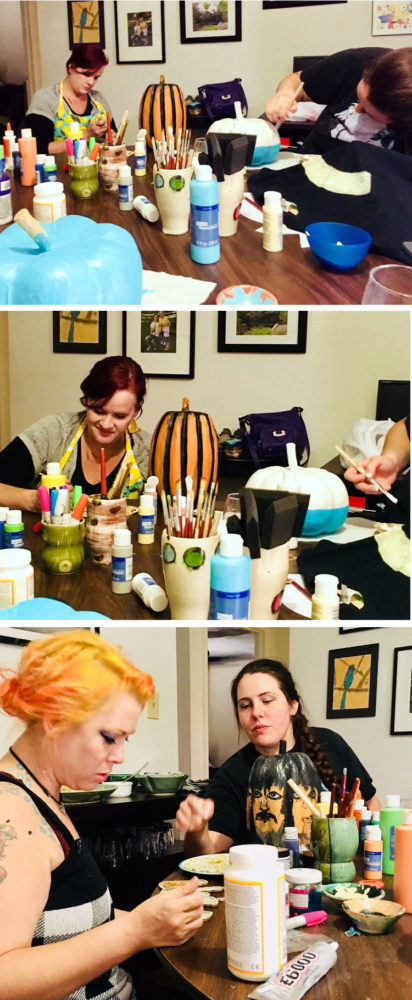
Everyone that attended had their own fantastic ideas for how to paint their pumpkins.
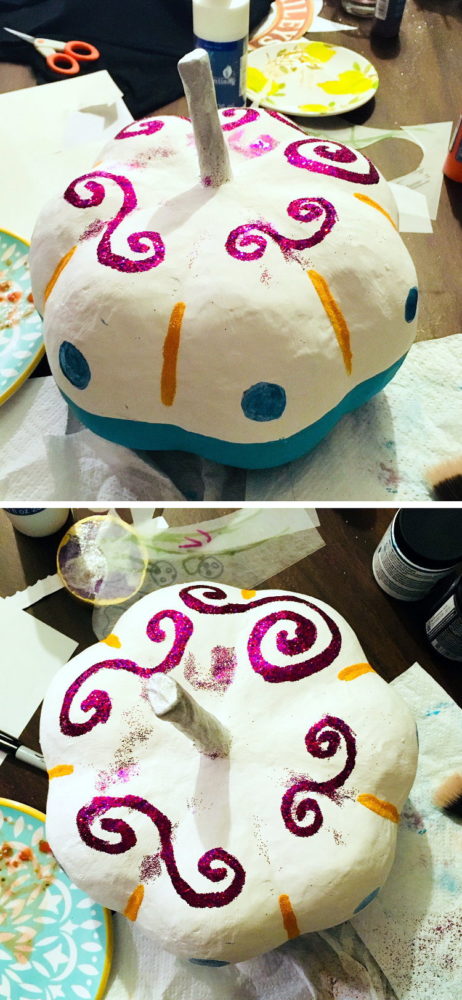
Whitney added orange and black stripes to her pumpkin while Allison created a bright and cheery teal and white pumpkin with pink glitter swirls and yellow accents. (Allison’s husband was in attendance too, however he worked on painting a t-shirt as a part of his Halloween costume.)
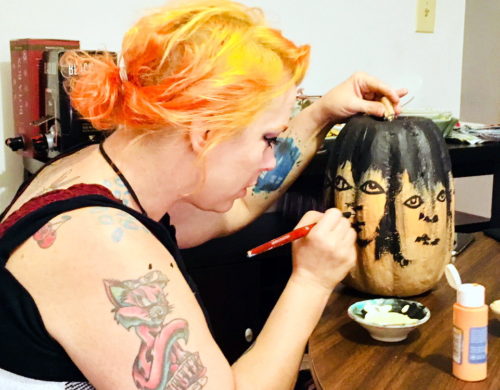
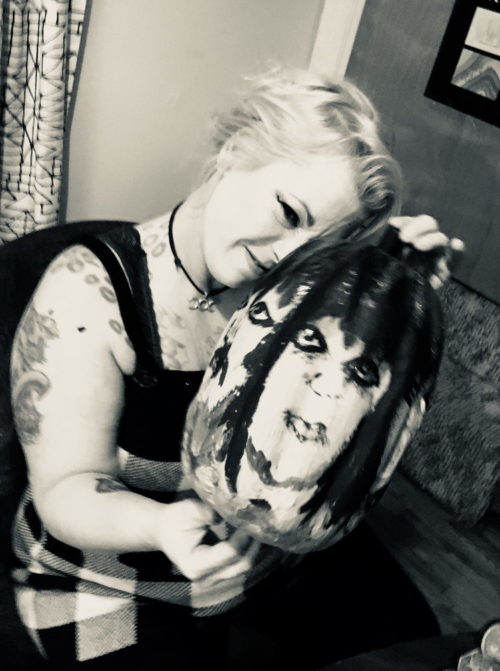
My friend Cathy created a multi-face painted pumpkin.
So as the pumpkin was turned you were presented with a new face! How cool is that?! (Be sure to hit play to see all of the painted pumpkin faces!
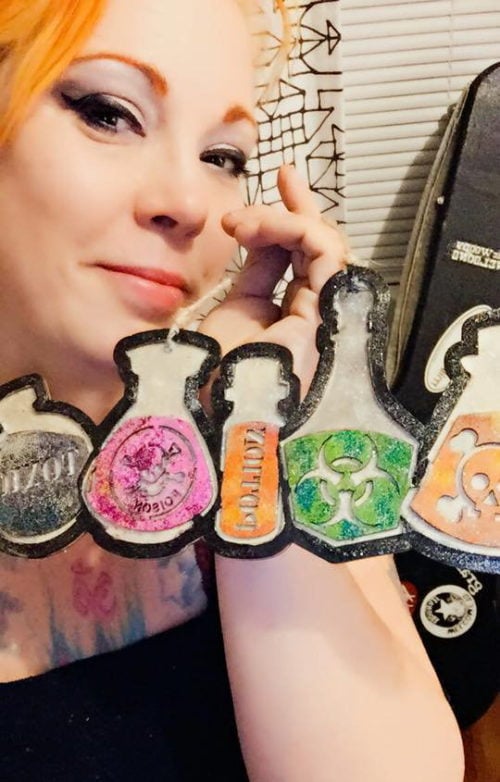
She also painted a wooden “poison” Halloween sign.
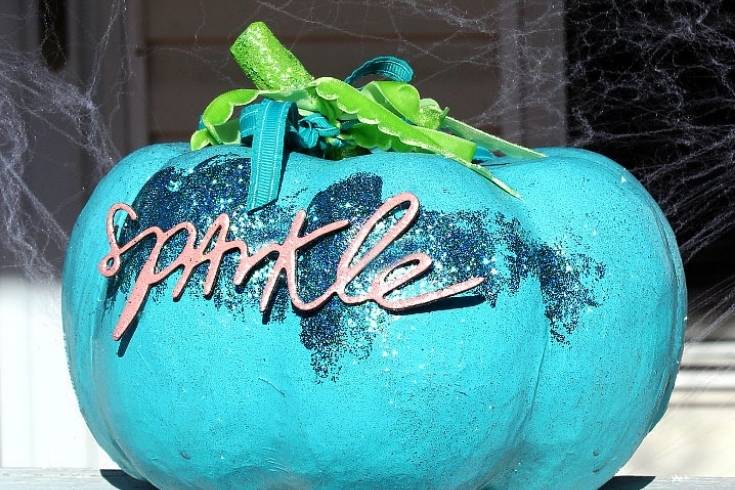
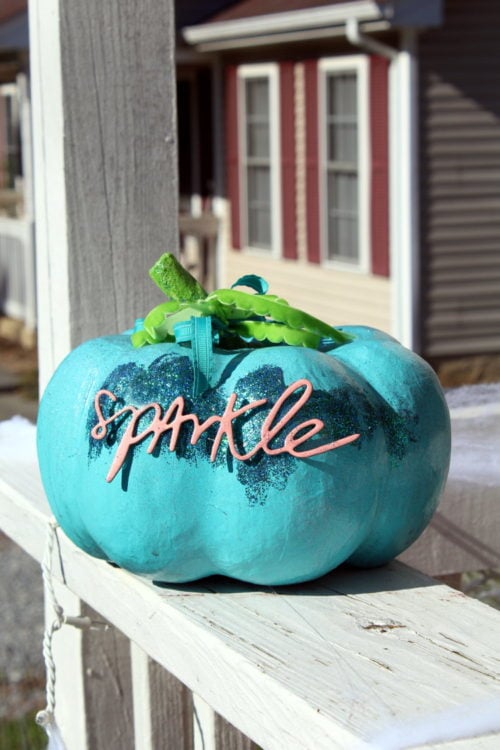
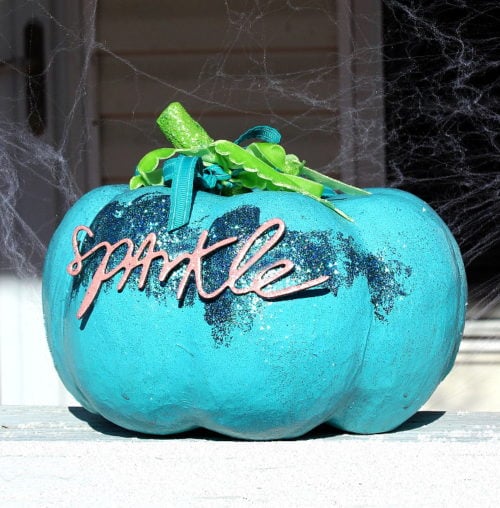
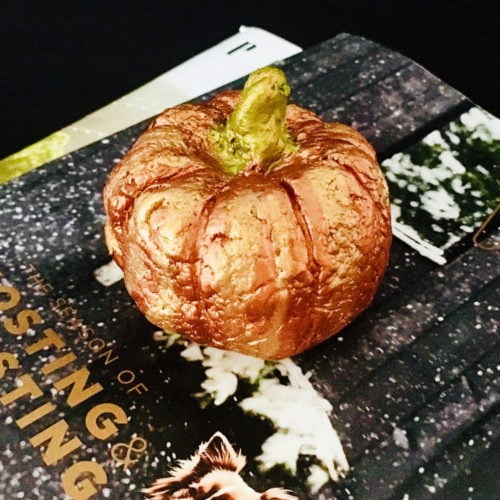
And I, of course, painted a sparkly glitter themed pumpkin! Here’s how it was done.
DIY Painted Pumpkins with Glitter
Materials & Supplies:
Paper mache pumpkin
Teal & lime green paint
Matte Mod Podge
Foam brushes
Krylon Glitter Shimmer Spray
Strong craft paint
Glitters
Ribbons
Instructions:
Cover your work surface with newspaper or a paper towel to protect it from paint. Then, using a foam brush, apply teal paint to the entire body of the pumpkin minus the stem. Allow the first coat of paint to dry completely then apply a second coat.
Once dried, use a foam brush to randomly apply Mod Podge to a front section of the pumpkin. Then sprinkle blue and green glitter onto the wet Mod Podge.
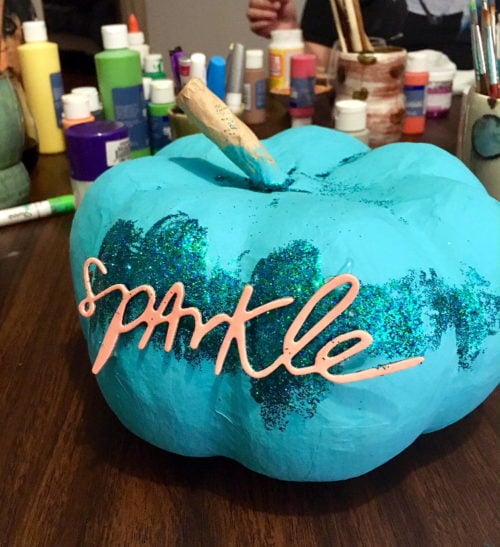
Once the Mod Podge dries, use a strong craft glue – I used E6000 craft adhesive – to glue a scrapbook chipboard phrase of your choice onto and across the front of the pumpkin.
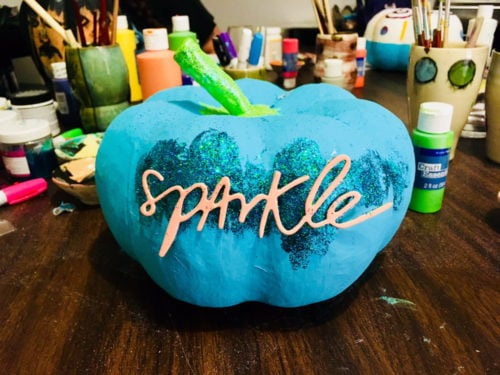
Next, paint the stem of your pumpkin green. Then, while the paint is still wet, gently blow blue glitter into the wet paint on the pumpkin stem. Once dry, finish your pumpkin with 2-3 coats as desired of perfectly pink Krylon glitter shimmer spray.
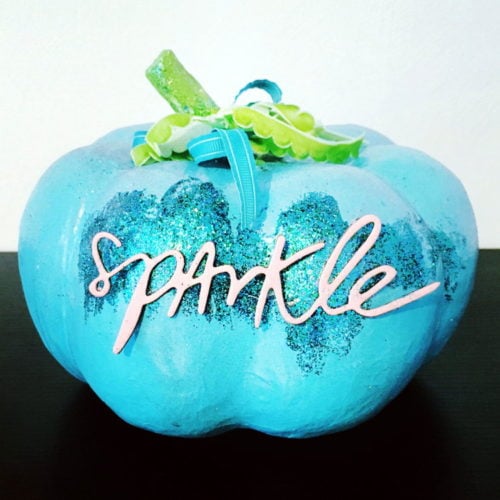
Finally tie teal and green ribbons onto your painted pumpkin’s stem. I used long pieces of ribbon and tied the two ribbons together into a bow twice. Then I tied the leftover long ribbon ends into a bow again but this time I tied the teal and green ribbons into bows separately.
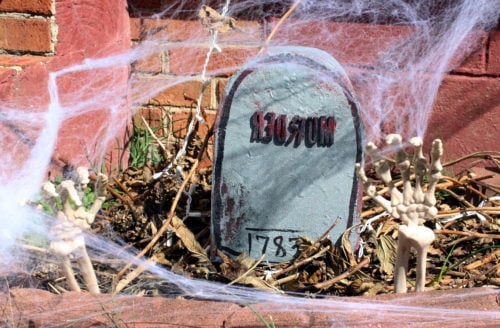
If you like our ideas for DIY painted pumpkins, then also be sure to check out these other no carve fall pumpkins. You may also enjoy my project for making DIY Halloween tombstones from upcycled cereal boxes. You can find that Halloween DIY here. Or gather even more fall inspiration from these non-food bath and body Halloween treats including anatomically correct heart bath bombs and bloody brains on foam deli meat trays.
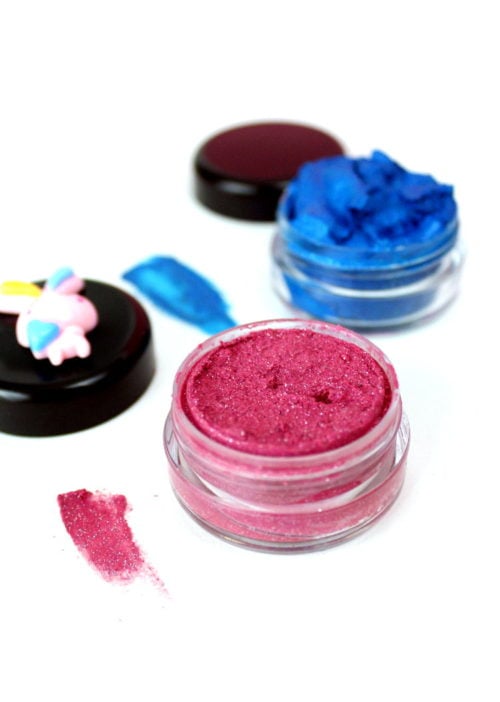
If Halloween makeup is more up your alley, then you must check out my color customizable, bold DIY cream eyeshadows. They also have glitter. Or alternately, you may prefer my recipes for making your own DIY Halloween grease makeup paints. You can find that DIY via my guest post at The Nourished Life blog.
Prefer seasonal fall projects to Halloween? Take a peek at these amazing artisan fall soaps for inspiration or learn how to make my 3-D moldable pumpkin spice soap. You can also learn how to make your own natural pumpkin spice roll-on perfume (also via a guest post) or check out this fantastic collection of twelve fab fall skin care recipes you simply won’t be able to resist.
Also be sure to follow my Halloween DIY Projects & Ideas Pinterest board for even more great fall crafts ideas along with my Jonesing for Crafts and DIY Bath & Body boards. In addition, you can find and follow me on Instagram as well as G+, Tumblr, Facebook, Twitter, Pinterest and Blog Lovin’. Or subscribe to Soap Deli News via email for future updates, DIY projects and recipes.