Glitter Snowflake Soap Recipe with Peppermint Essential Oil
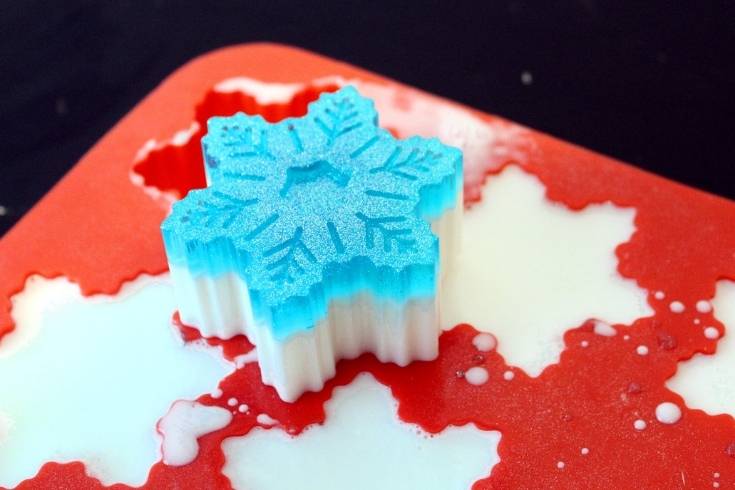
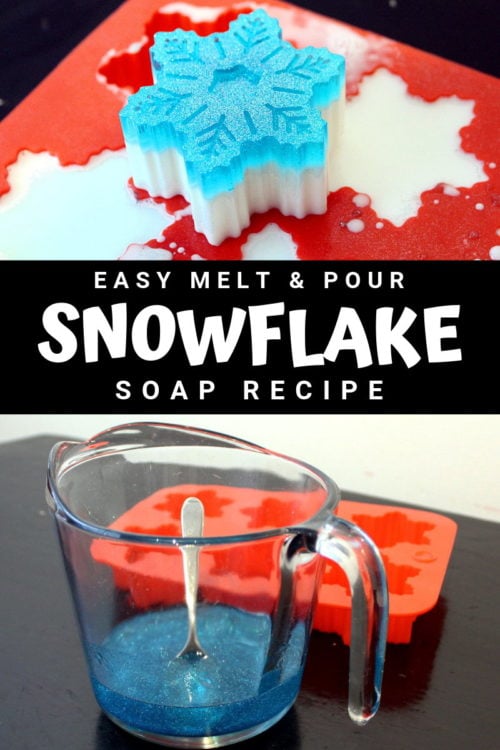
I had planned this sparkly, glitter snowflake soap recipe to share with you all a bit closer to winter. However, with the realization that many of the Northern states are already enjoying that cloud of white falling from the sky, I decided not to wait. (Nor’easter anyone?) This easy melt and pour snowflake soap recipe for beginners is made with essential oil and biodegradable glitter. So not only do they sparkle like sun hitting snow, they also make fun DIY holiday gifts.

DIY Glitter Snowflake Soap
I know that many of my readers on Facebook have requested more easy melt and pour soap recipes. So I hope this easy melt and pour soap tutorial helps to deliver just that. Not only is my glitter snowflake soap recipe easy to make, it’s also a joy to use. I mean, there’s GLITTER!
My DIY glitter snowflake soaps make great seasonal gifts throughout the winter holiday season. However, don’t you dare let anyone tell you that the homemade soaps you create are too pretty to use! My BFF gave me that line and I (not) yelled at her to use it anyway. After all, I can always make more. Plus melt and pour soap recipes are really easy to make! You can usually complete this soap crafting project in well under an hour, and they can be used the same day.
Which of course brings me around to a rather unsettling discovery a few years back. When I was shocked to find my “pretty” homemade soaps from ten plus years ago still stored in my parents’ bathroom closet… I know. Don’t get me started. (They don’t do it anymore though thankfully. Not after they tried switching back to commercial bar soap.)
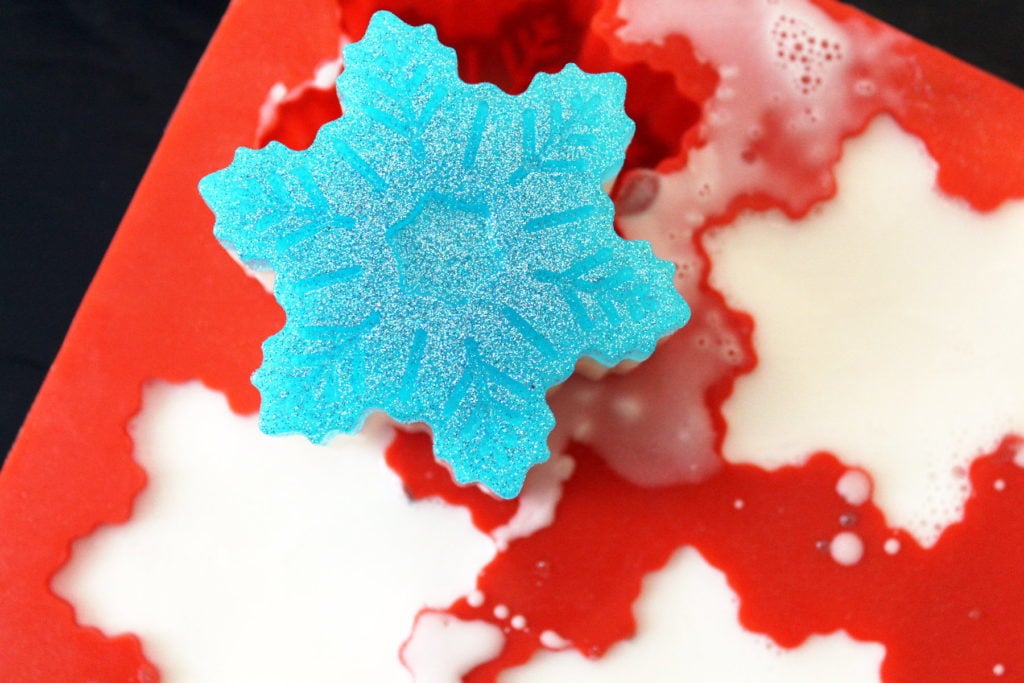
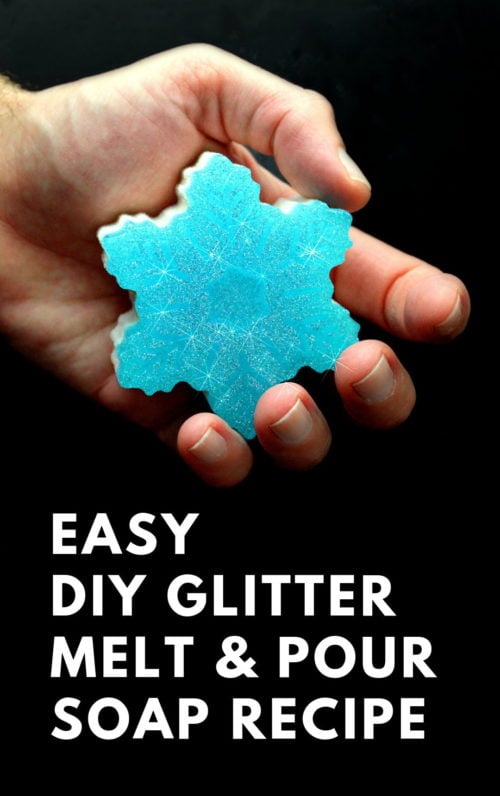
Anyhow, if you’re a fan of glitter, then you’re really going to love my DIY snowflake soap recipe with glitter. Scented with peppermint essential oil and filled with shimmering biodegradable glitter, this easy melt and pour snowflake soap recipe with glitter is a must for your next weekend DIY project!
Ready to get your sparkle on? Then let’s do this!
Glitter Snowflake Soap Recipe
Snowflake Soap Ingredients:
7.25 oz. clear natural melt and pour soap base
15.75 oz. white natural melt and pour soap base
.25 oz. peppermint essential oil
fine electric blue bio glitter, to suit
fine white bio glitter, to suit
fine silver bio glitter, to suit (optional)
Materials & Supplies to Make Melt and Pour Soap:
6-cavity silicone snowflake mold
4-cup heat safe glass measuring cup like Pyrex
utensils for stirring
digital scale
spray bottle with rubbing alcohol
cutting board, optional
How to Make DIY Snowflake Soap
You’ll begin by making the glitter layer of your glitter snowflake soaps first. To do this, start by weighing out 7.25 oz. of the clear melt and pour soap base. Cut the soap base into chunks and place into a heat safe, glass measuring cup. Heat in the microwave in 30 second increments until melted.
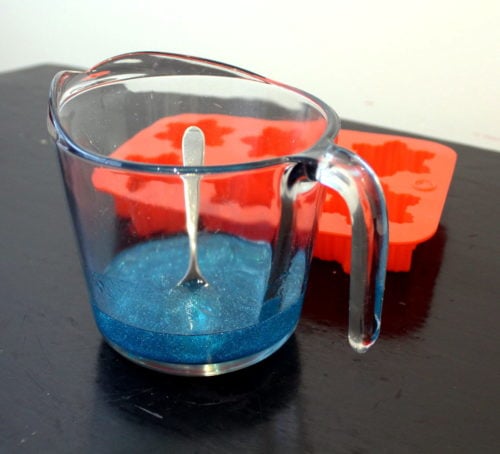
Remove the melted soap from the microwave using a folded tea towel as the glass may be hot. Now weigh out .1 oz. of the peppermint essential oil and stir into the melted soap base. Next, add your choice of biodegradable glitters in your colors of choice. Have fun with it, but be careful not to go overboard. Too much glitter can make your snowflake soaps feel scratchy!
Now stir well to combine so both the glitter and the peppermint essential oil are evenly distributed throughout the soap base. Allow the melted soap base to cool slightly.
Place your silicone snowflake mold on a cutting board. Then stir the melted soap again.
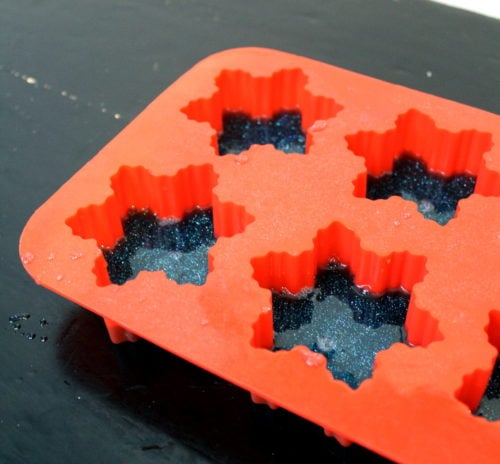
Pour the glittery melt and pour soap base evenly into each of the mold’s six cavities. Then spritz the tops of your soap with rubbing alcohol to remove any air bubbles. If desired, use the cutting board to carefully transport the mold to the refrigerator to hasten cooling times.
While the first layer of your glitter snowflake soap cools, you can get started on the next step.
Wash and dry the measuring cup you used to melt the clear soap base.
Next, weigh out 15.75 oz. of the white melt and pour soap base. Cut it into chunks. Then place the soap inside the measuring cup and heat until melted, in 30 second increments, stirring occasionally.
Once melted, weigh out and stir in .15 oz. of the peppermint essential oil.
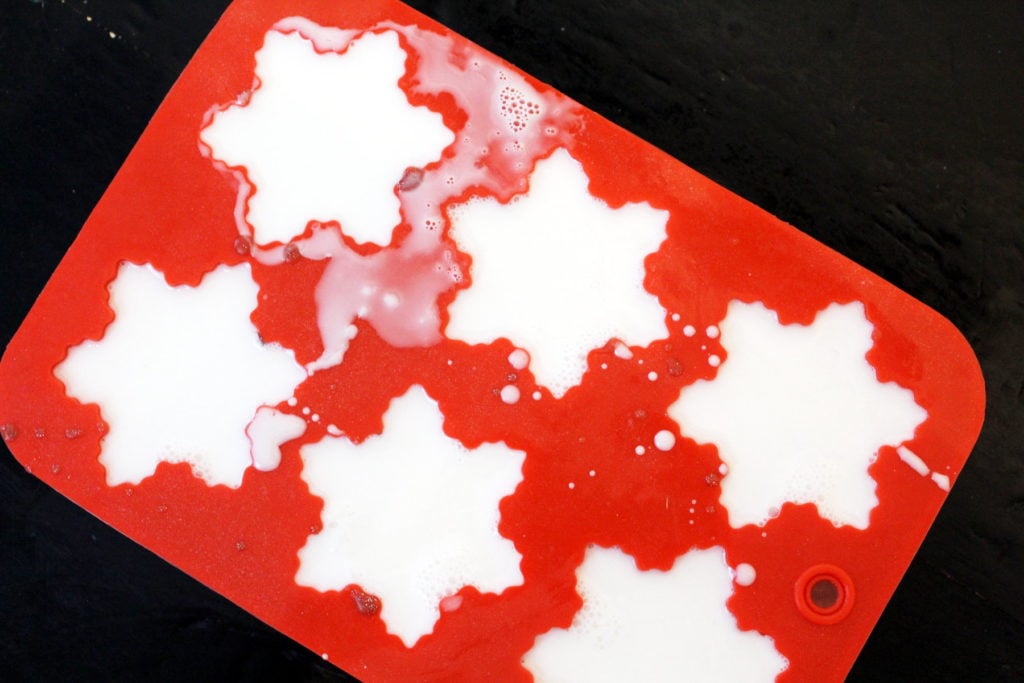
Once the first layer of soap has fully hardened, spritz it with rubbing alcohol. Then pour the white peppermint scented soap based into the cavities of your mold on top of the first layer.
Spritz the tops of the soap with rubbing alcohol to remove any air bubbles. Then allow the soap to cool and harden. (Again, you can transfer your soap to the refrigerator to speed up the process.)
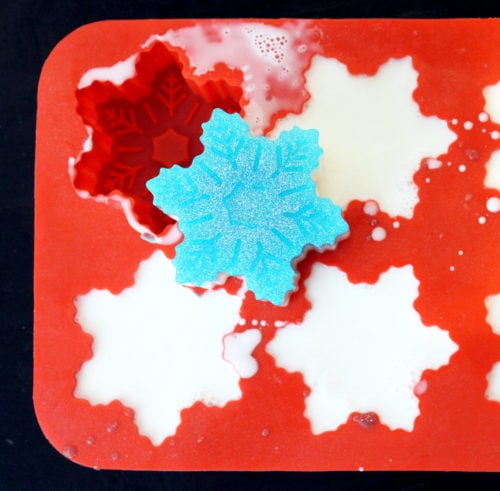
Once your glitter snowflake soaps have hardened, carefully remove them from the mold.
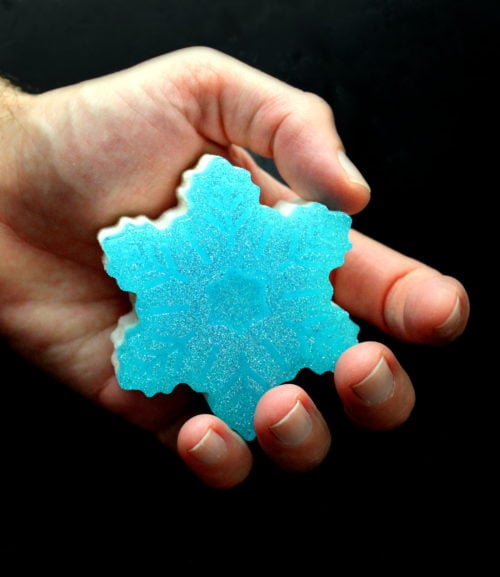
Then wrap your glitter snowflake soaps tightly in foodservice film for storage or gift giving.
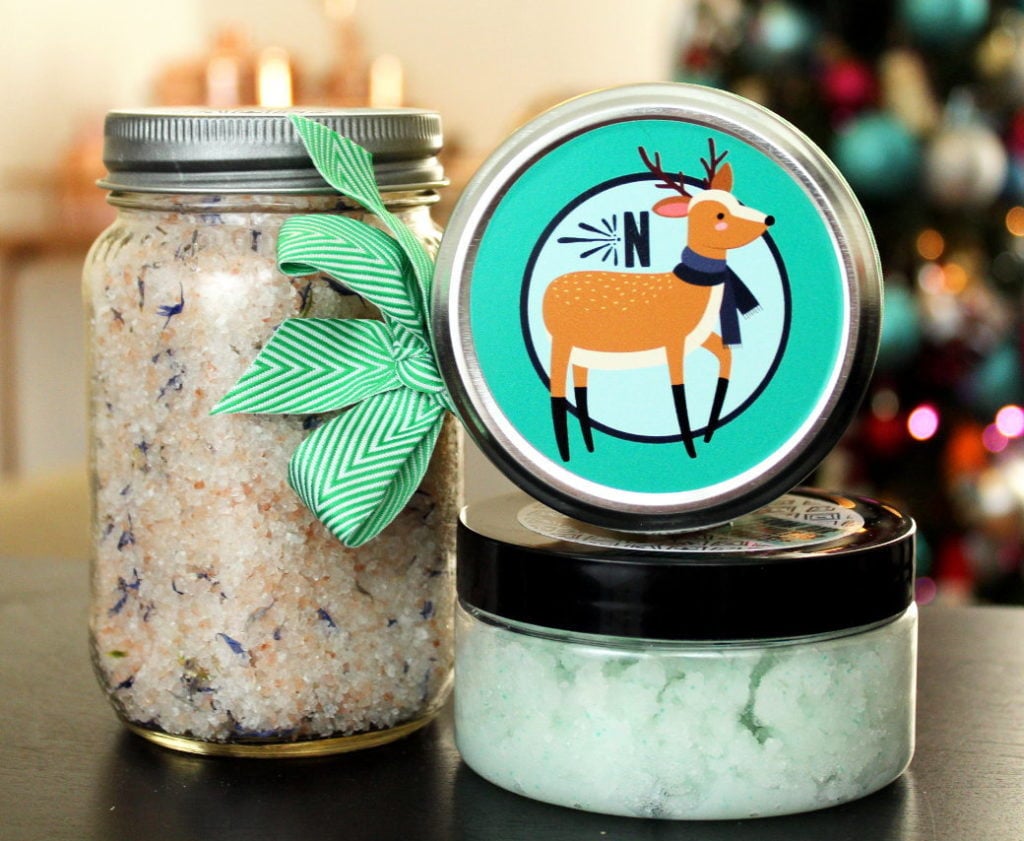
More Winter DIY Holiday Gift Ideas
If you like my DIY glitter snowflake soap, then you’ll love these other winter DIY holiday gift ideas:
- DIY Melt and Pour Snowflake Guest Soaps
- DIY Gingerbread Men Snow Globe Soaps
- Easy Melt and Pour Polar Bear Soap Tutorial
- Homemade Cranberry Body Butter Recipe
- Chocolate Orange Body Butter Recipe

- Cranberry Chutney Solid Lotion Bar Recipe
- DIY Holiday Wax Tarts
- Cardamom & Pumpkin Spice Solid Coffee Scrub Recipe
- Non-greasy Cinnamon Sugar Body Butter Recipe
- DIY Frosted Cranberry Massage Candles
- Easy Peppermint Foaming Sugar Scrub Recipe

- Herbal Winter Body Balm Recipe
- DIY Solid Sugar Scrub Snowballs
- Holiday Day Red Tinted Lip Balm Recipe
- Cranberry Fig Bath Truffles Recipe
- Easy Homemade Holiday Bath & Body Recipes
For more soap crafting projects and ideas for winter, check out my DIY Christmas Gift Ideas board on Pinterest.
Also make sure to follow Soap Deli News across all of your favorite social media platforms. You can find me on Pinterest, Facebook, Twitter, Blog Lovin’ and Instagram. Alternately, you can also subscribe to Soap Deli News via email for future updates, DIY projects and recipes.

